The Mortal Shell II prologue doubles as its combat tutorial: it teaches beacons, parries, secondary weapons, and shield breaks before dropping you at Bone Fortress, the hub you will return to for the rest of the game. This walkthrough follows the opening route in ten steps, with a screenshot for each stage so you can check your position at a glance.
Note: screenshots in this guide are in-game frames referenced from a community playthrough video of the prologue, credited in the sources section below.
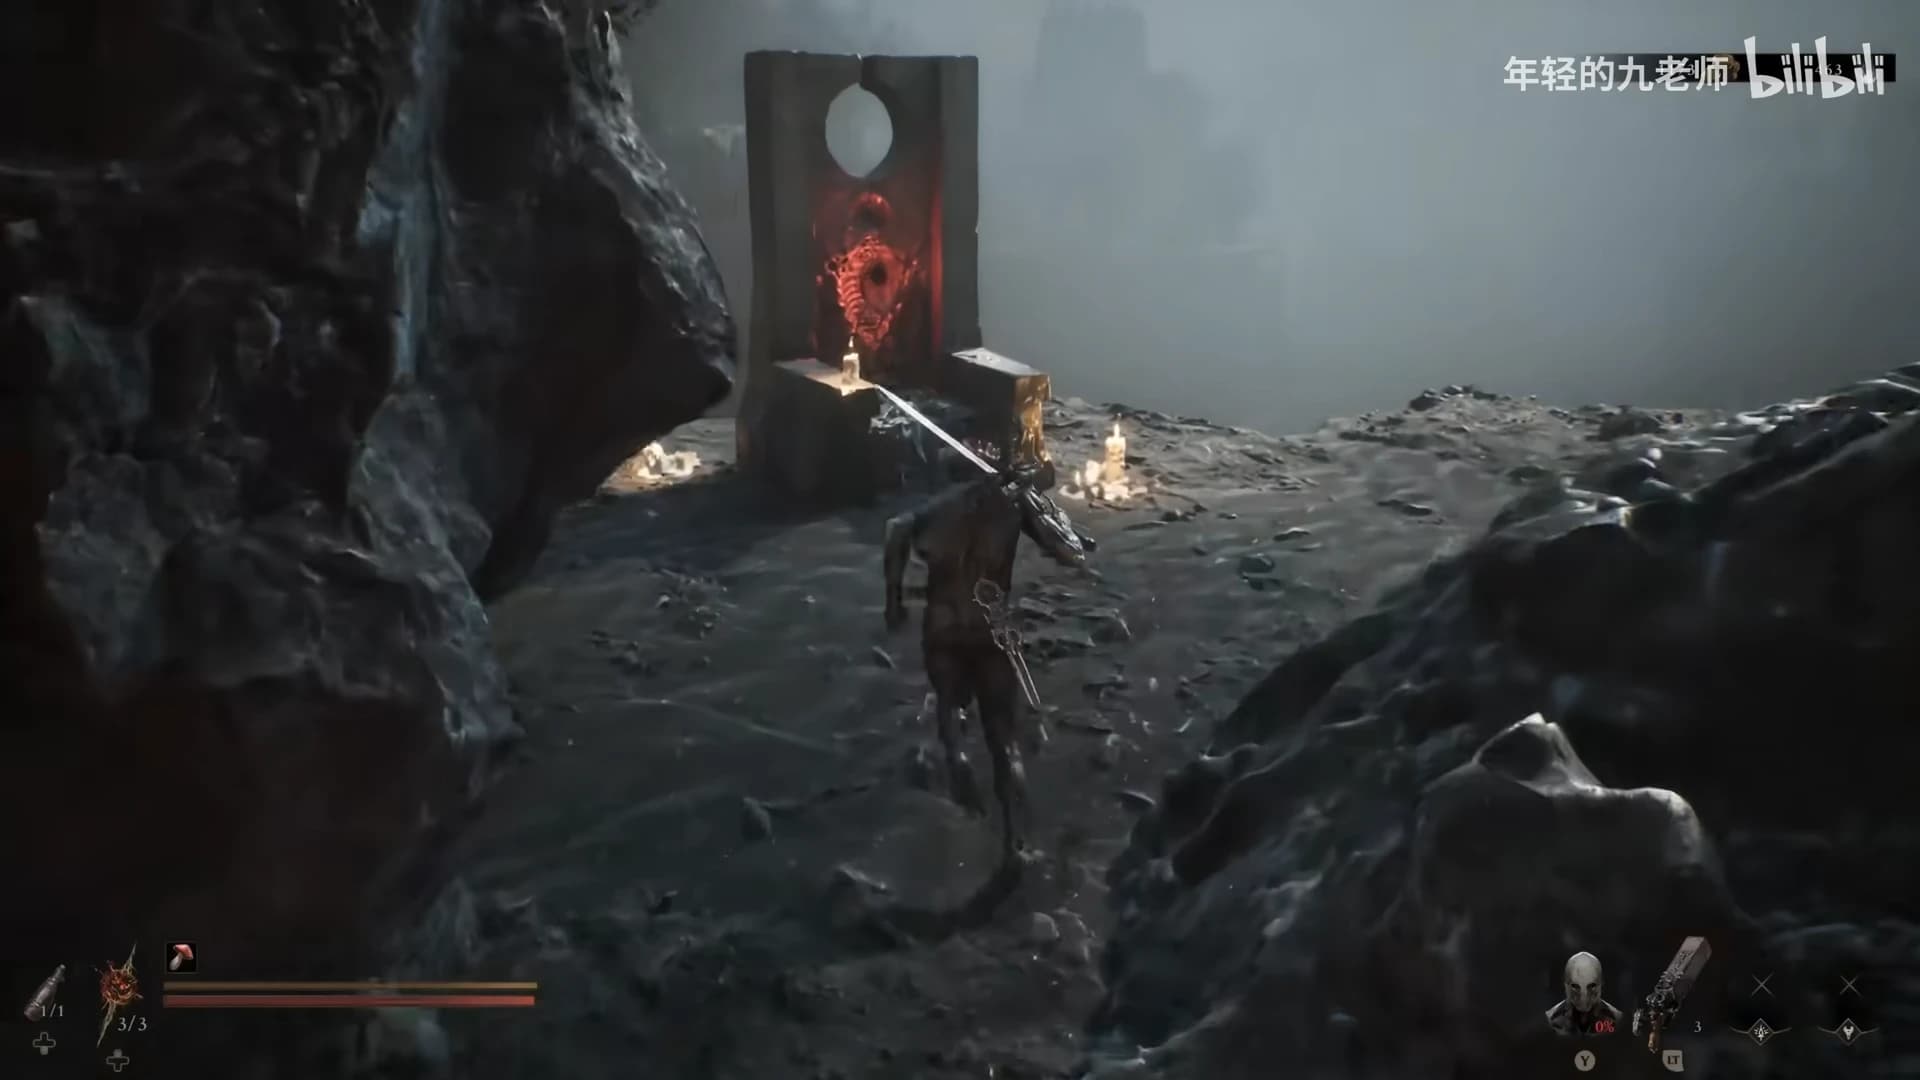
Activate the first Beacon
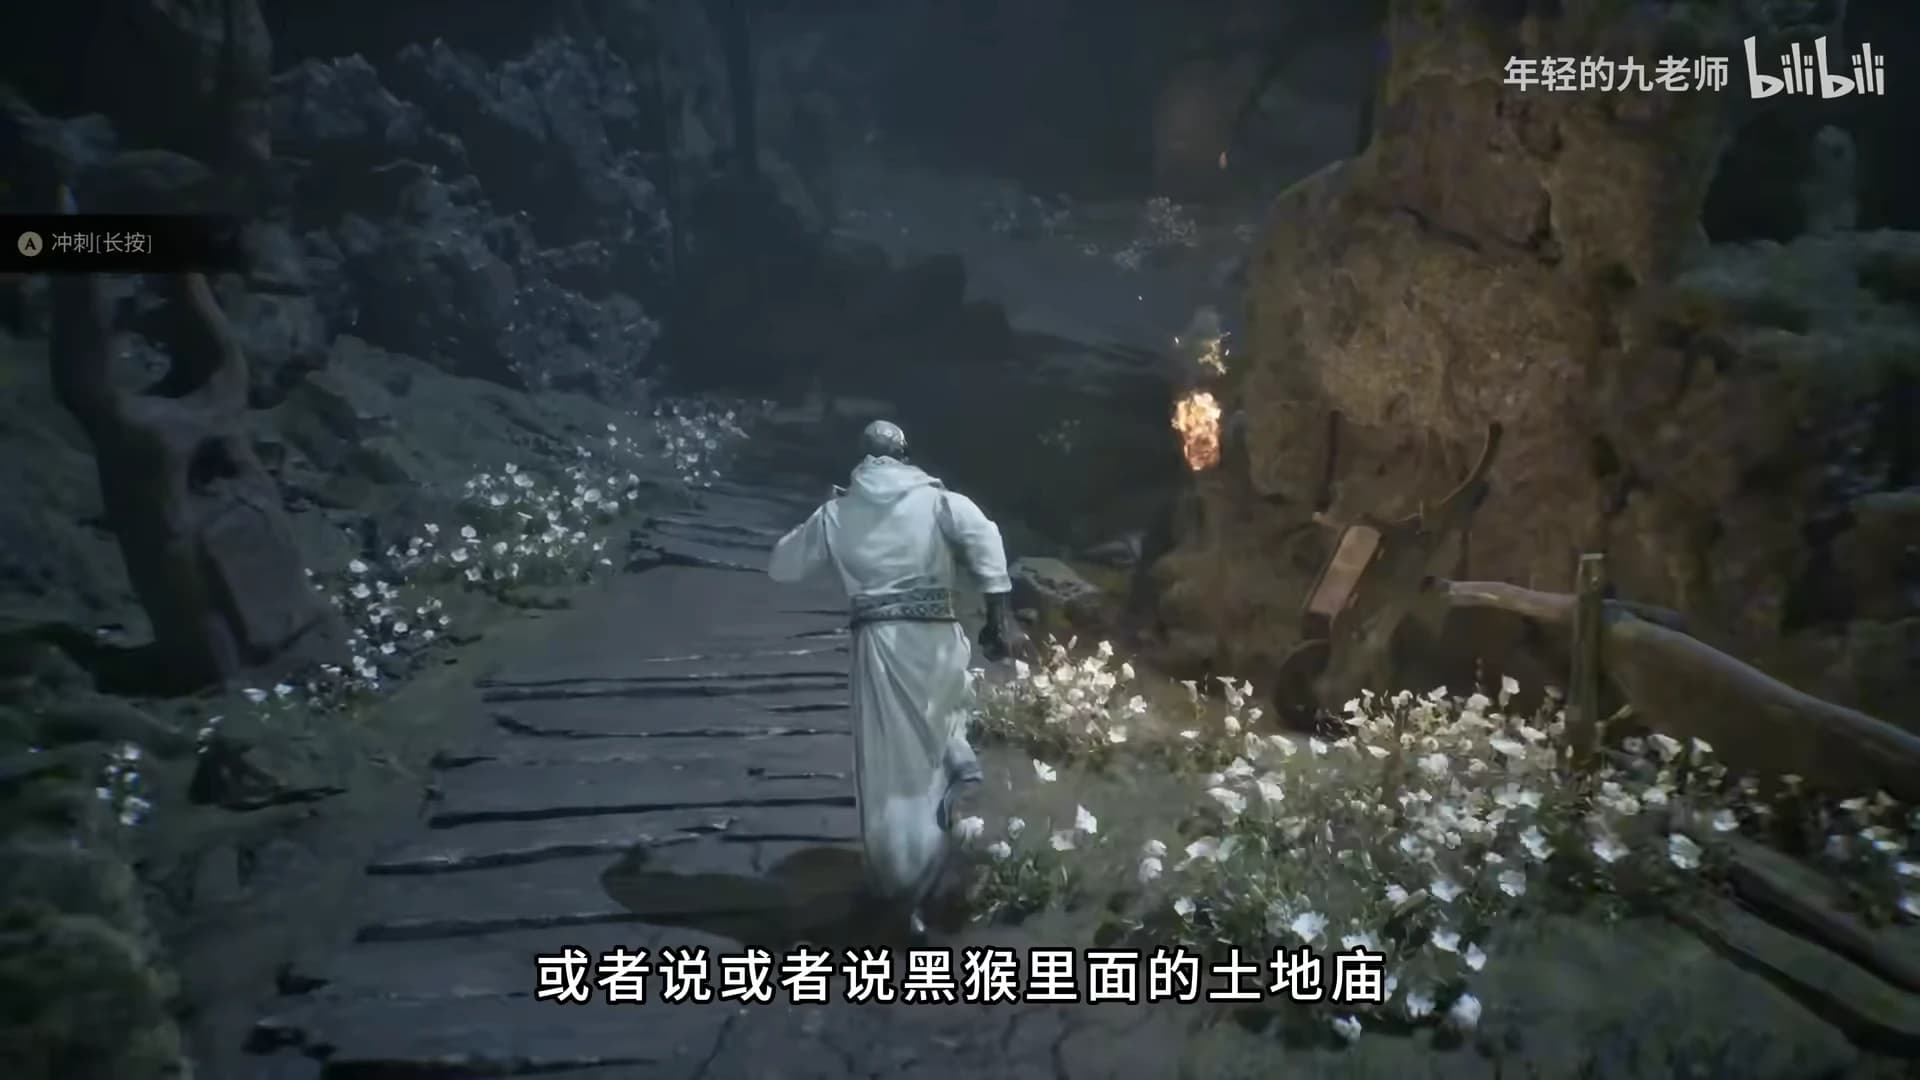
After waking up, take the path on the left. It leads to the first Beacon — the game's checkpoint system. Beacons must be activated before they can be used, and they evolve further as you progress through each area.
Pick up the opening weapon and parry mark
Continue along the opening path to collect your starting equipment. The first weapon is a balanced option with medium poise damage and medium attack speed — a comfortable choice for learning the game's rhythm.
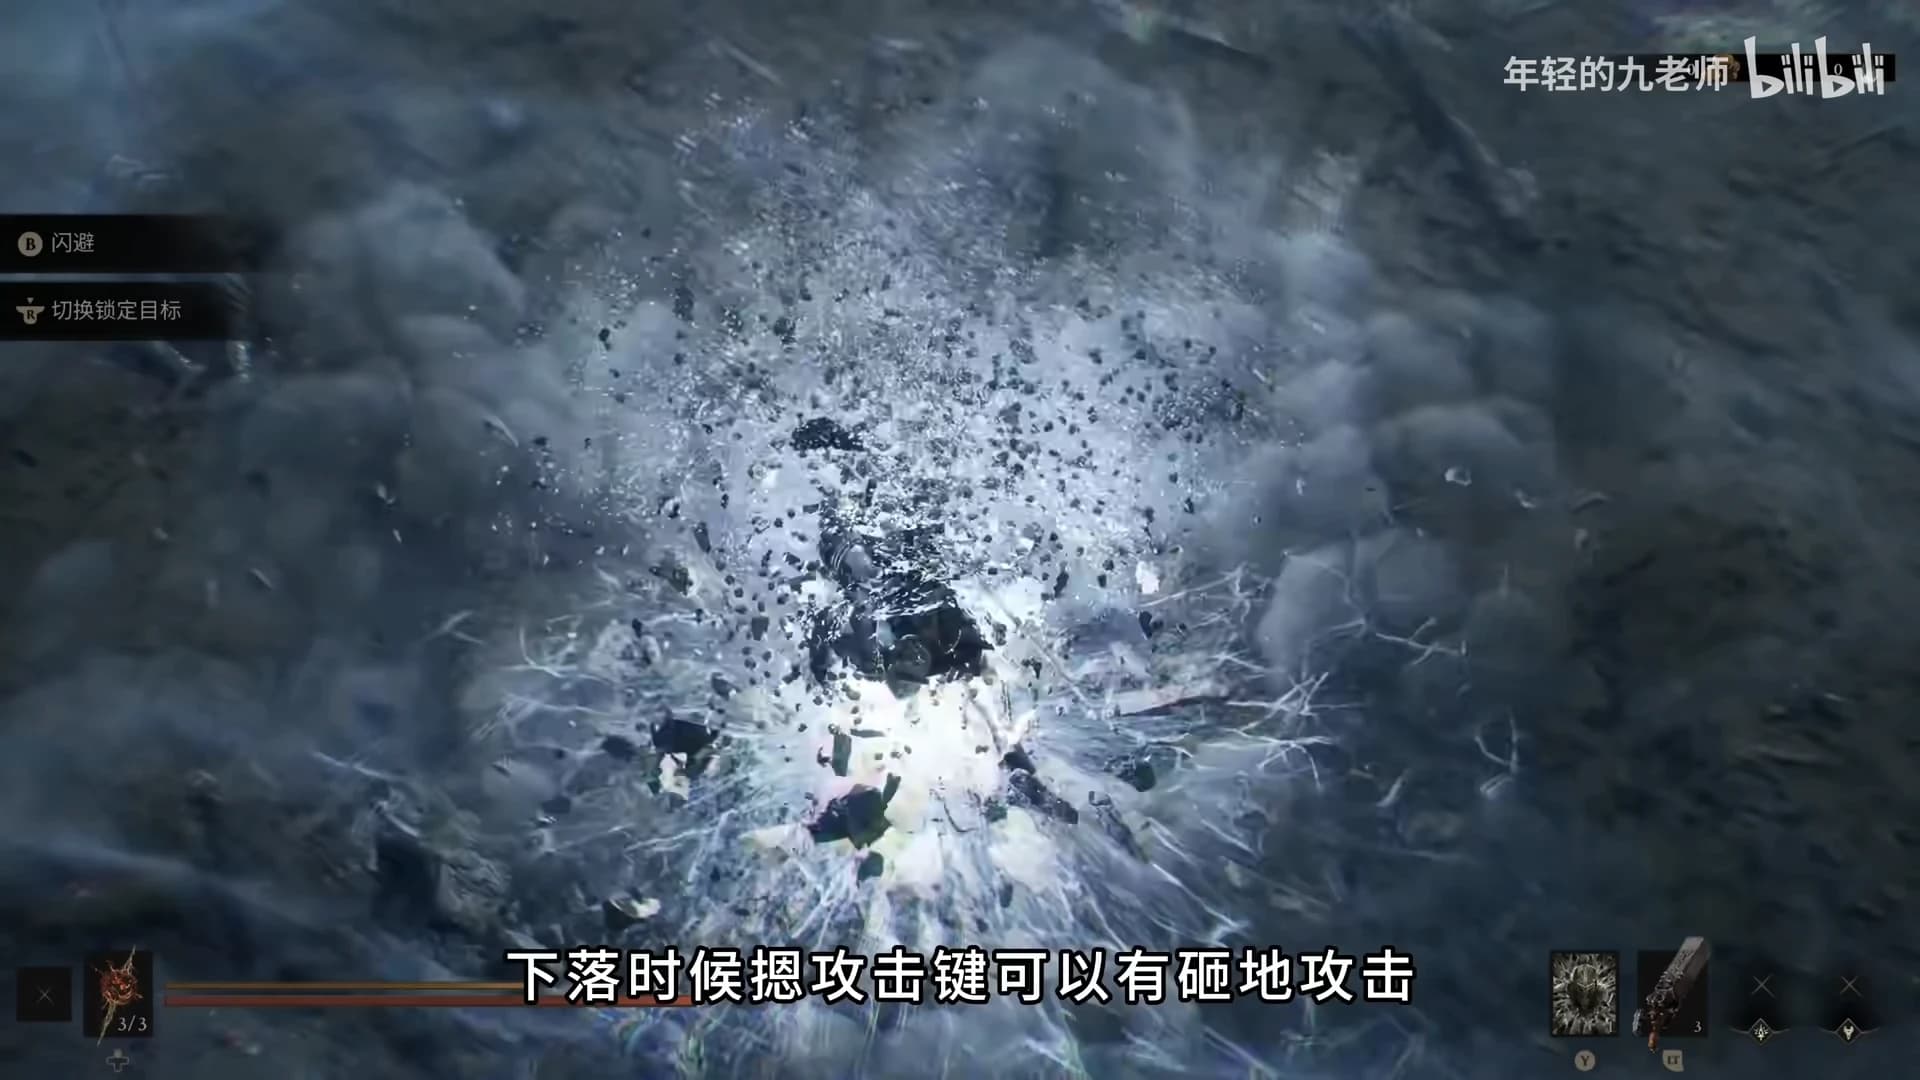
The mark you pick up here enables parries. A well-timed parry creates a critical-strike opportunity, and tough enemies can be staggered by a heavy opener or opened up for a critical after a single parry. You can also slam-attack by pressing the attack button while falling.
Learn secondary-weapon combat
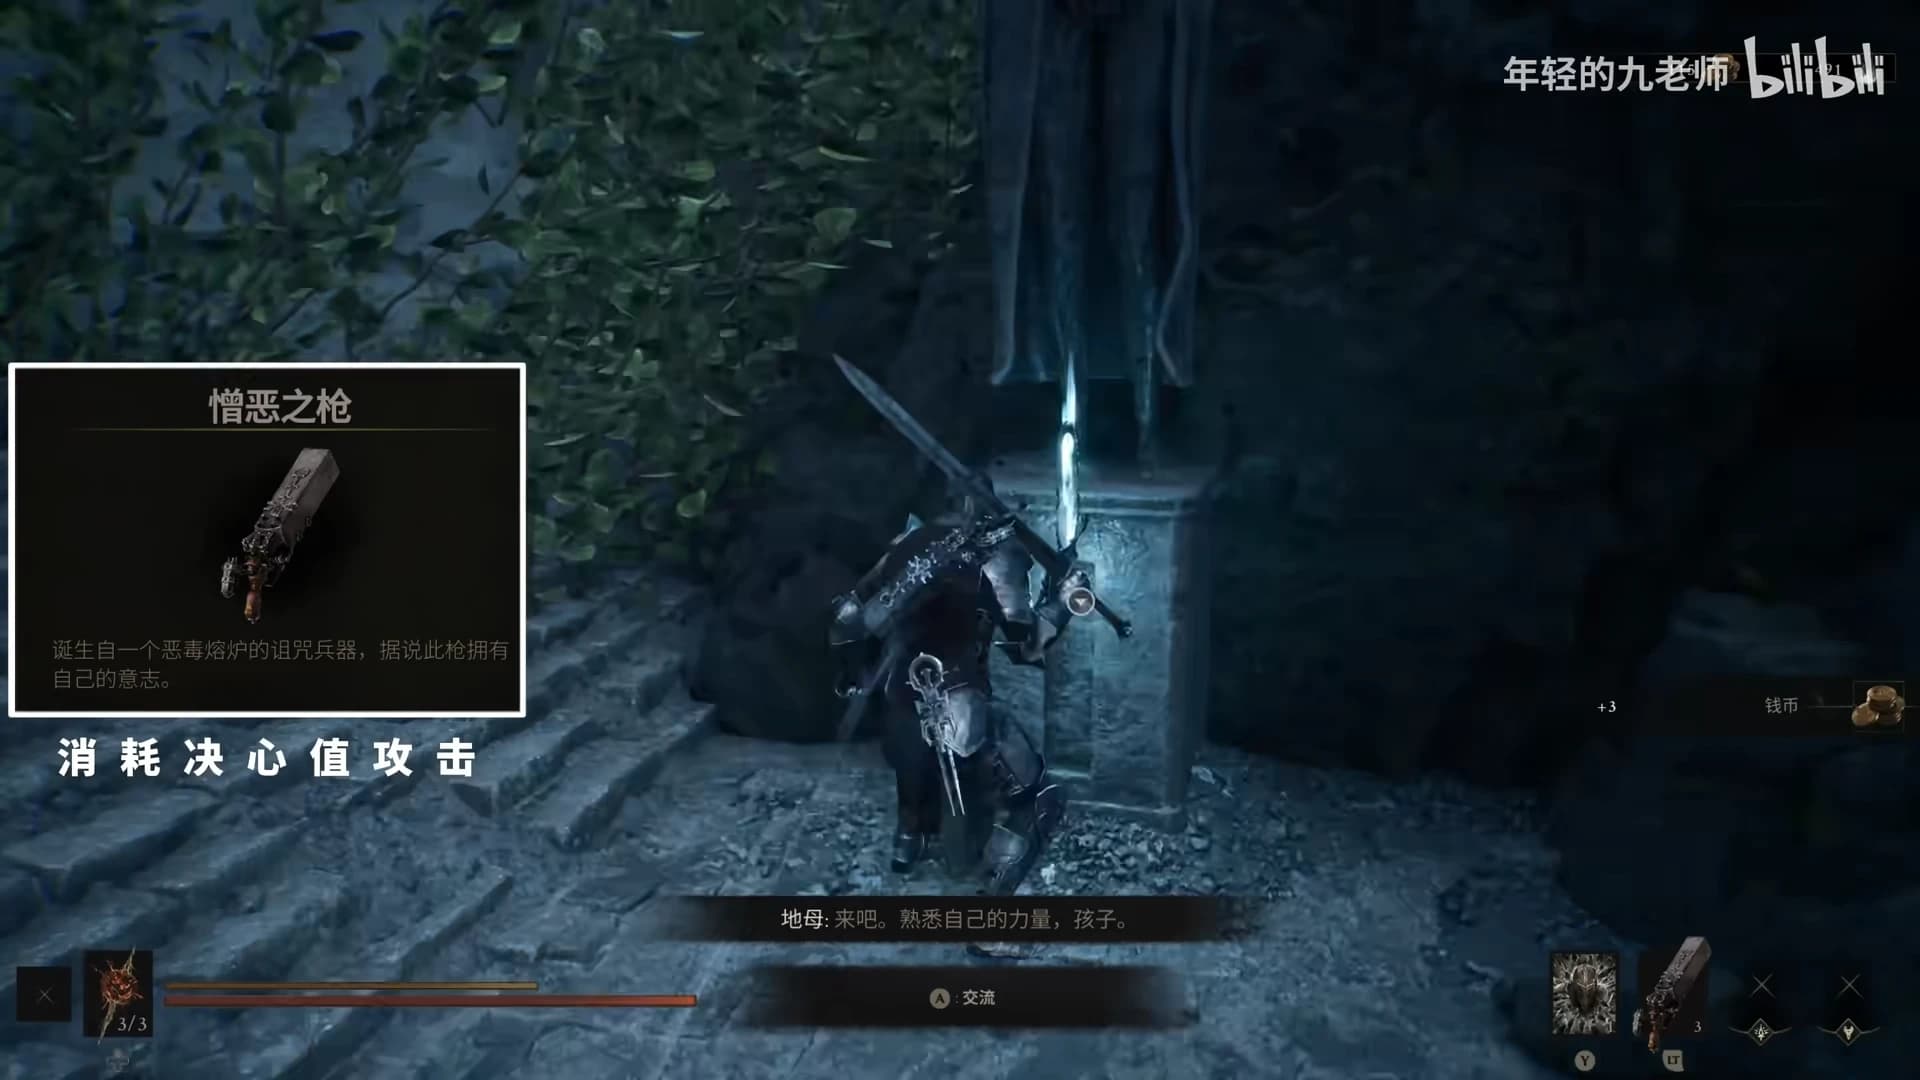
Grab the Star Stone on the route — it is used for weapon upgrades later. The next section introduces the secondary weapon, whose attacks consume Resolve, the yellow gauge above your health bar.
Secondary attacks do not require a parry setup, but their damage falls off at range: stay close enough for the hits to matter. Using the secondary weapon is optional in the prologue; regular melee is enough to clear everything.
Evolve the Beacon and return for locked items
Back at the first Beacon, complete its evolution before moving on. Some nearby objects cannot be collected on a first visit — once the Beacon has evolved, return to open the chest holding a quest item.
This stretch also teaches shield breaks: heavy attacks crack a shield open, and the secondary weapon is another answer. A permanent mushroom-type item becomes available after this progression point as well. The general rule for the whole game: if an item is out of reach, remember the spot and come back after advancing the local Beacon or objective.
Find Tim's egg
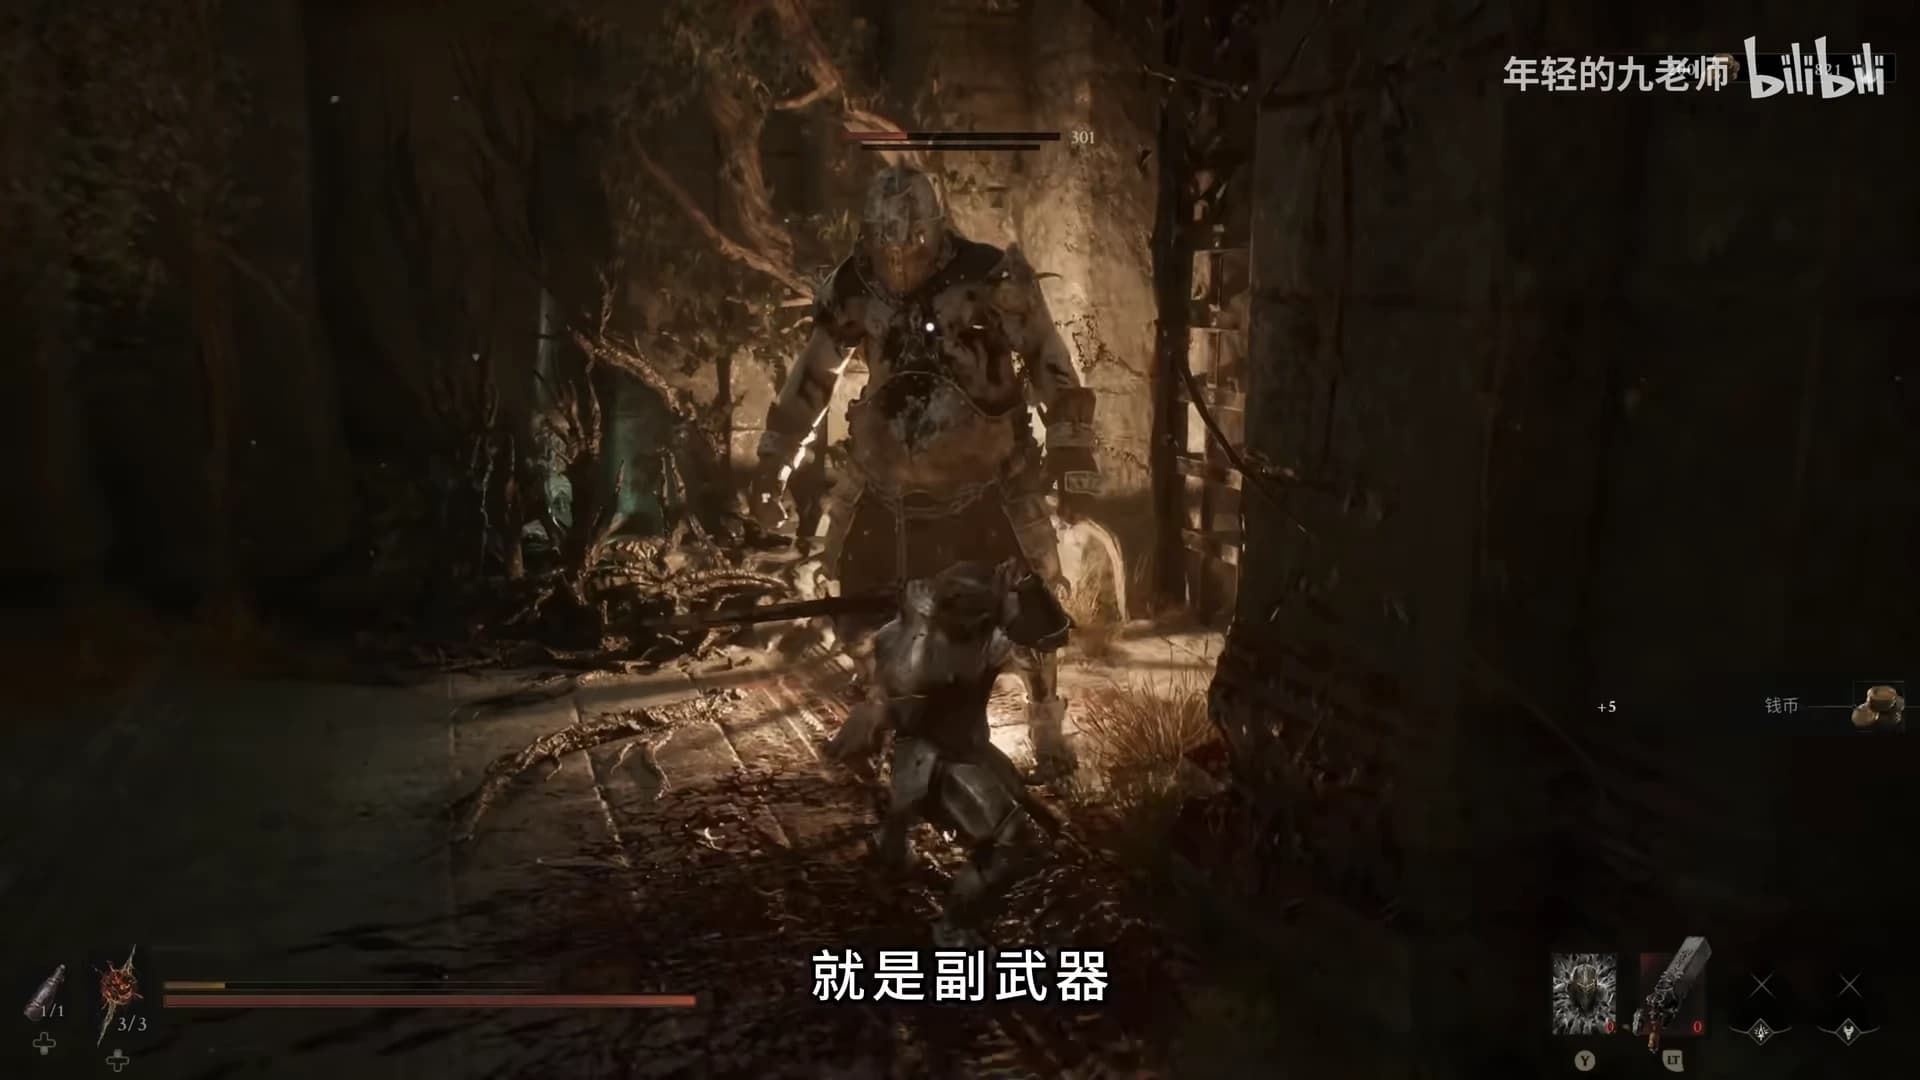
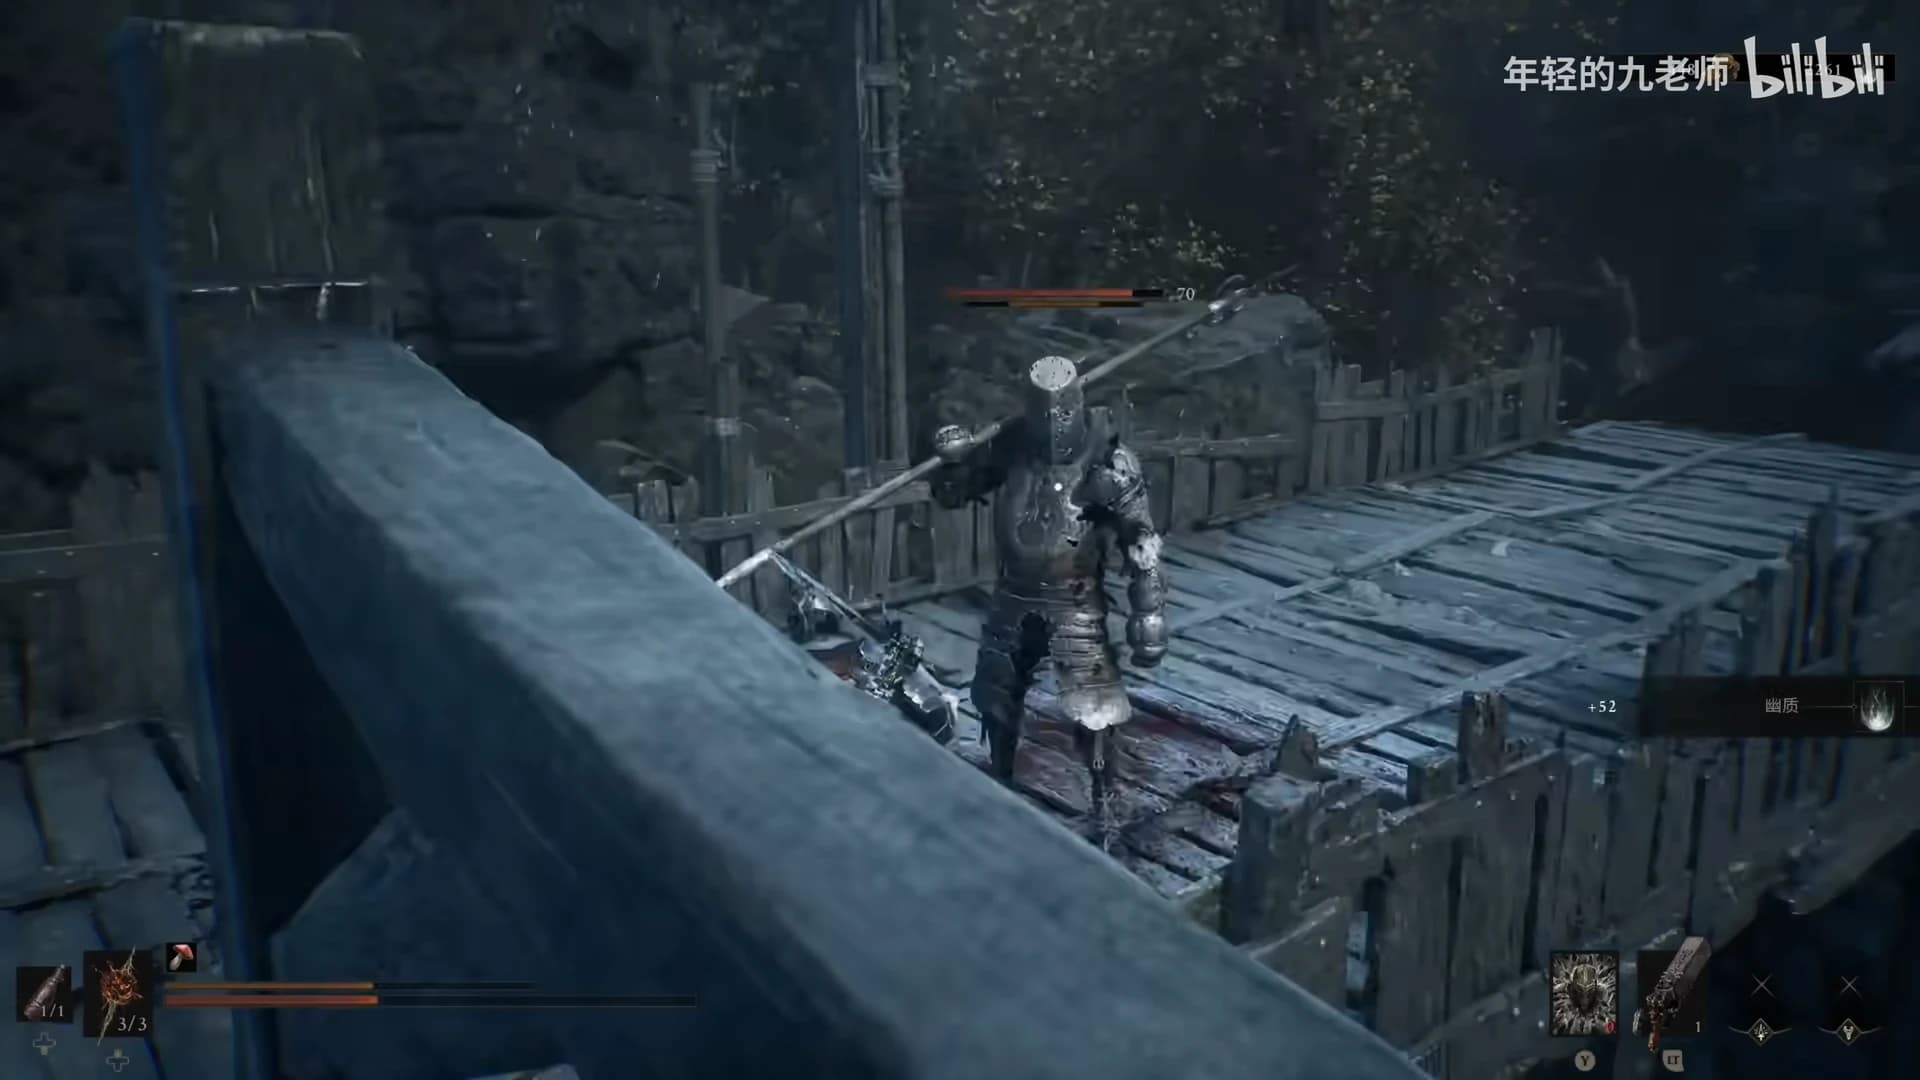
Run through the next ambush area rather than walking into it slowly. The objective here is helping Tim recover an egg. When two smaller enemies are paired up, separate them and fight one at a time.
If the fight goes badly, open the Beacon ahead first — with a respawn point nearby you can retry the encounter without a long walk back.
Evolve the second Beacon
This stretch has an archer posted above the path, a breakable chest, and an enemy waiting around the corner. Clear the immediate threats first, then search behind the route for a weapon-upgrade stone.
Evolving this Beacon awards Insight, the resource used to upgrade Shells. Both Beacon evolution and the egg objective are tied to achievements, so completing them here counts toward the long-haul 100% run.
Explore the cellar
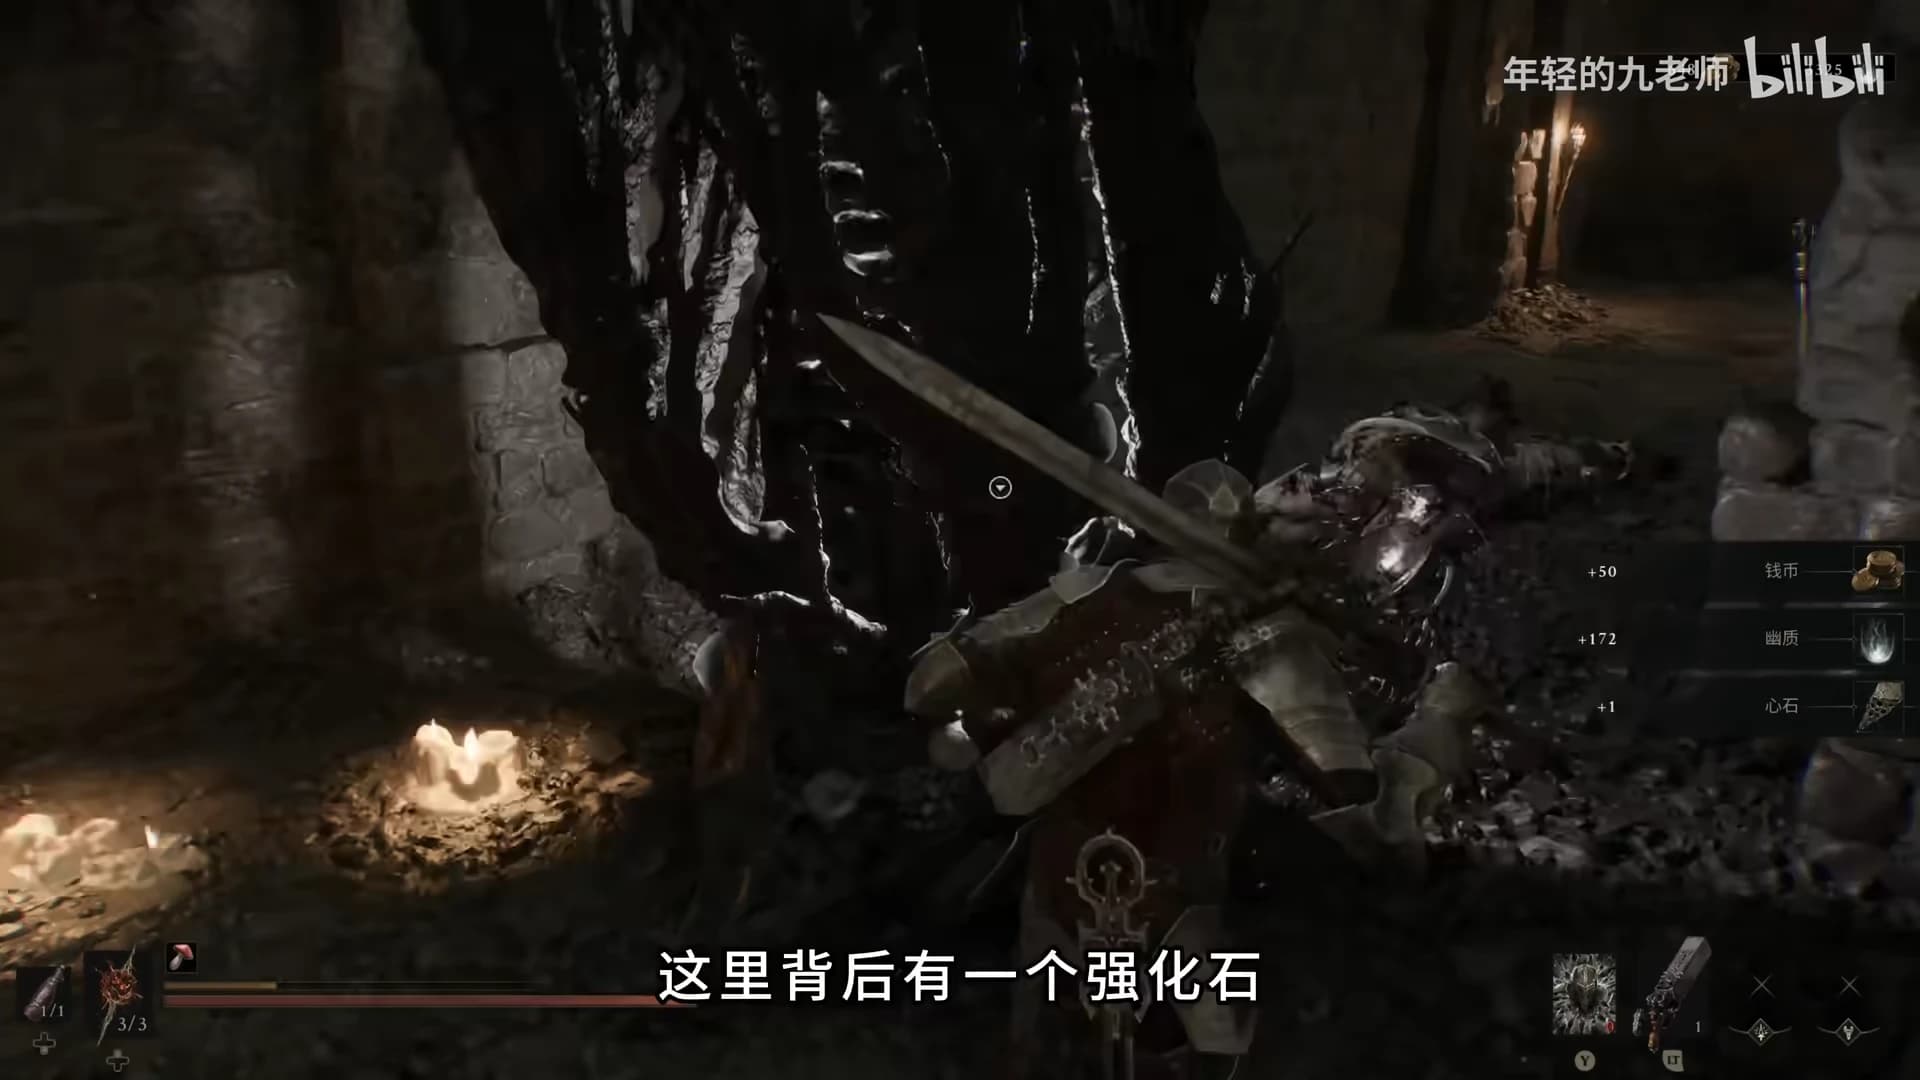
The next stronger enemy spawns close to a respawn point, so it is a safe place to practice the fight and retry if needed. After the fight, enter the cellar to collect its reward.
Cellars can hide shortcuts, puzzle elements, or hidden-story content. On the way down, turn around and collect another upgrade stone that is easy to miss.
Complete the scripted prologue boss encounter
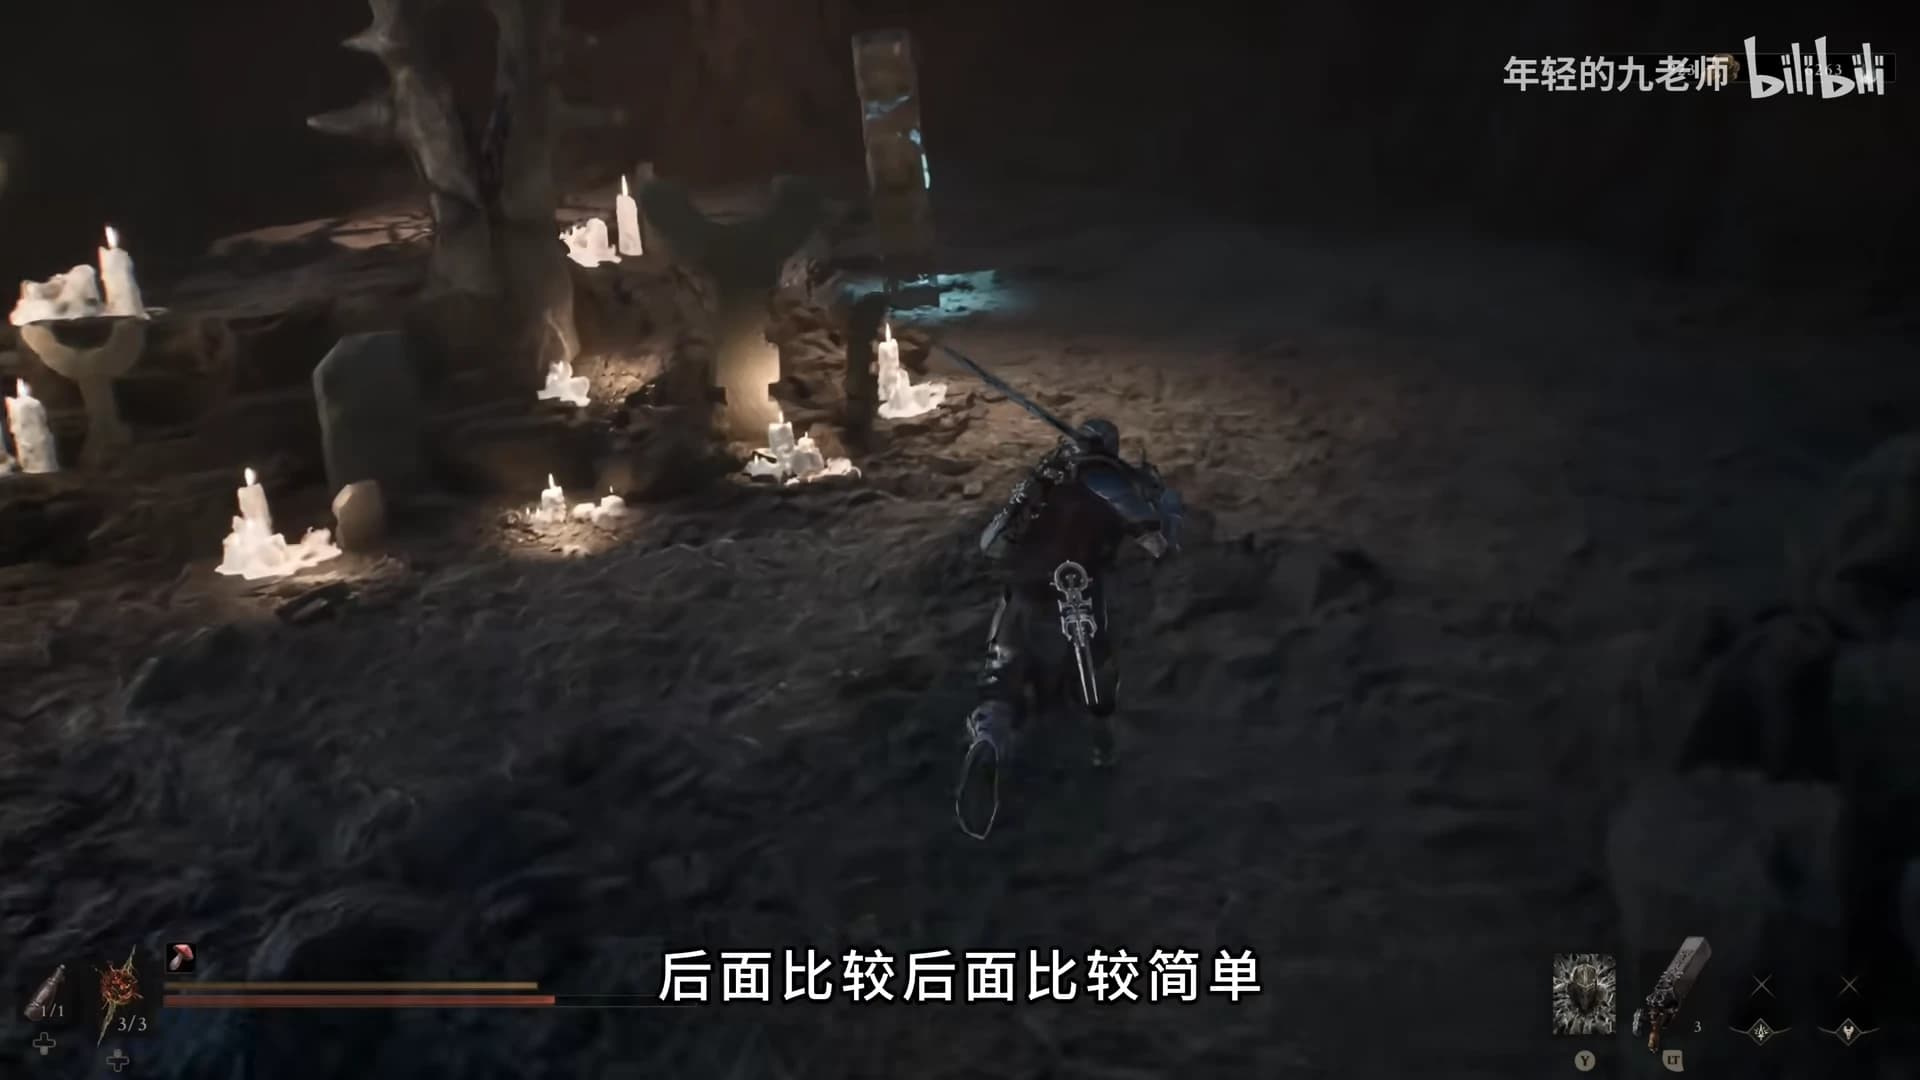
Leave the cellar and continue into the large arena — the prologue boss area. The encounter is scripted and always transitions into the following cutscene, so fight freely without worrying about losing.
Afterward you receive Varlat's Mark, a defensive timing-based guard. A successful use pays off strongly, but it cannot be chained into continuous parries.
Arrive at Bone Fortress
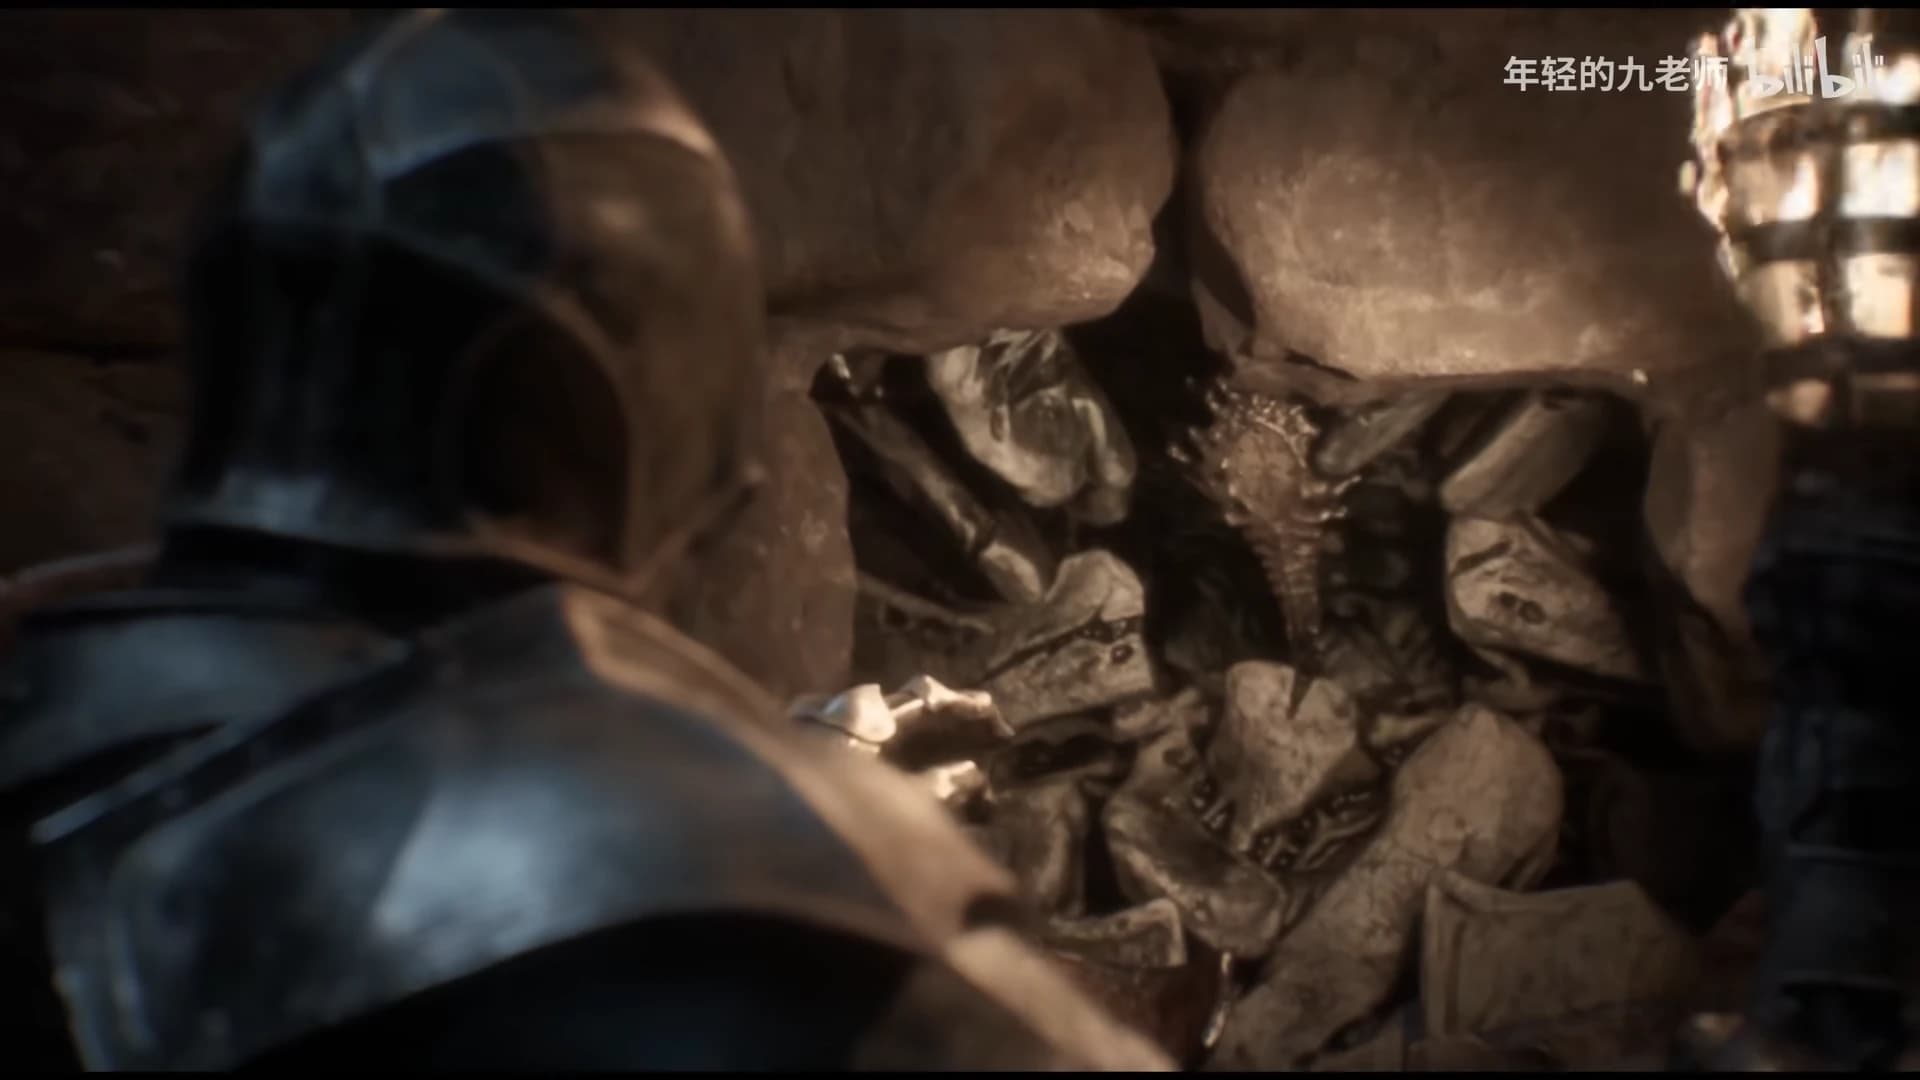
After returning the egg, you arrive at Bone Fortress. Your character here is the Harbinger — no Shell yet. The hub gives clues pointing to two unknown Shell locations, which sets up the search that drives the rest of the game.
Appearance items can be inspected here, including face cosmetics and the wreath collected during the prologue. The character can reach level 4 in this opening stretch, with each level granting fixed stat increases.

Check the hub, merchant, and weapon upgrades
Inside Bone Fortress, check the right-hand side for a hidden door and interact with the central point. Leave the early challenge alone for now — currency is more valuable than experience during the opening phase.
The merchant gives one free marker, and weapon-related collectible markers can be purchased with currency later, though some merchant functions stay locked at this stage. The quest item collected at the Beacon earlier is what unlocks weapon upgrading. Once you have looked around, head out toward the open-world area — the all-region beacon route picks up from there.
Prologue route checklist
- Activate and evolve the first Beacon.
- Collect the opening weapon, parry mark, and Star Stone.
- Return for the quest chest and the permanent mushroom item after progressing.
- Recover Tim's egg and evolve the second Beacon.
- Collect the upgrade stones on the main route and the cellar return route.
- Complete the scripted boss encounter and obtain Varlat's Mark.
- Inspect Bone Fortress: hidden door, merchant, and the weapon-upgrade function.