This page condenses six full beginner videos into one playbook: what to set up before your first real fight, an early power-up route you can follow step by step, and the mistakes that cost players the most — each with its fix. Everything here was cross-checked across all six videos; where creators disagreed (first Shell choice, seal choice), the trade-offs are laid out instead of a forced verdict.
View video sources (6 videos)
Fextralife — Beginner Guide: How to Get OP Fast · Boomstick Gaming — Every Tip I Wish I Knew Earlier · NorZZa — 10 MAJOR MISTAKES To Avoid · Doms Roundtable — How To Get OP In Less Than An Hour · KhrazeGaming — How To Have The Absolute Best Start · Moxsy — Ultimate Beginner Guide. Full links, timestamps, and attribution are listed in the Sources section at the bottom of this page.
Before you set out: five minutes of setup
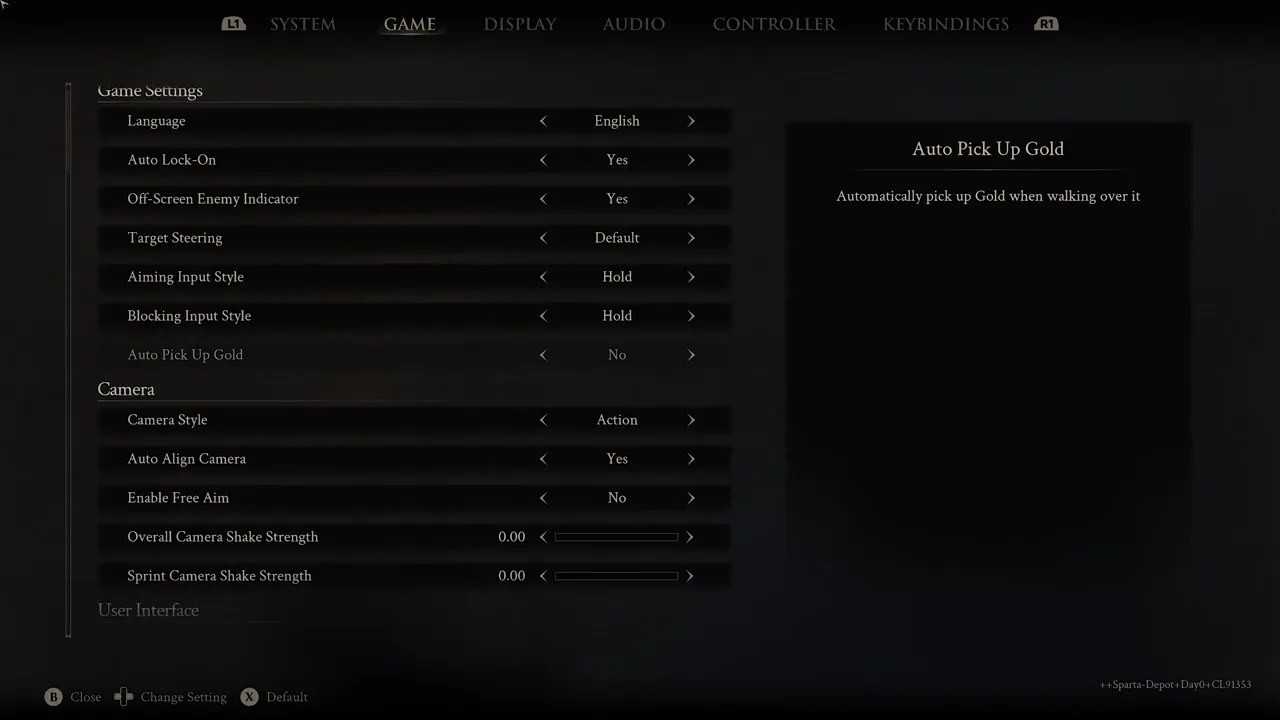
Turn on auto-pickup for coins. Enemies drop Gloom (the currency you spend to level up) and coins (which gate almost every upgrade in the game). Coins must be collected manually until you enable Settings → Game → auto pick up — do it immediately or you will be mashing the pickup button after every fight. See the setting.
Pick your camera deliberately. The immersive camera sits close over the shoulder; the action camera pulls back and centers your character. Several players find parries easier to land on the action camera because you can see more of the fight — try both in the first beacon area rather than committing blindly. Camera comparison.
Know your four seals — one of them is "easy mode." Seals are found right at the start, and the videos agree on what each does:
| Seal | What it does | Worth noting |
|---|---|---|
| Untarnished | Hold-to-block guard; a perfect guard deals break damage | The balanced parry option with the most forgiving window — the recommended starting seal in three of the videos |
| Vatra | Harden: turn to stone mid-animation and absorb the next hit | The classic Mortal Shell tool — you can block during your own attack animations, and a perfectly timed harden recharges instantly see it explained |
| Infinite | Precise-timing parry with the biggest break damage | Punishing window; leaves you exposed on a whiff |
| Slayer | "Easy mode": empowered punches, sidearm break damage, health and Resolve restored on ripostes | Disables achievements for the whole save. Fine for a first run, save it for New Game Plus if you chase achievements — details here |
Your first hour: the power-up route
This route comes from a video whose author recorded the full run — it took 51 minutes of real play, so the "under an hour" framing is genuine, not marketing. Each step lists where to go and what you get out of it.
1. Prepare at the keep before leaving. After the prologue you arrive at the keep (Marrow Keep). Collect the 250 coins under the stairs, grab the Ventrium upgrade materials (you will need hundreds all game), find the gloom siphon in the Ovum room, and trigger Merrick the merchant's dialogue. Grab the free map that marks the Forgotten Crossbow, and pick up the Slayer seal from the throne only if you want easy mode. Watch this stretch.
2. Teleport to Widow's Overlook using the pad at the top of the lift — this beacon is the starting point for nearly everything early. The pad.
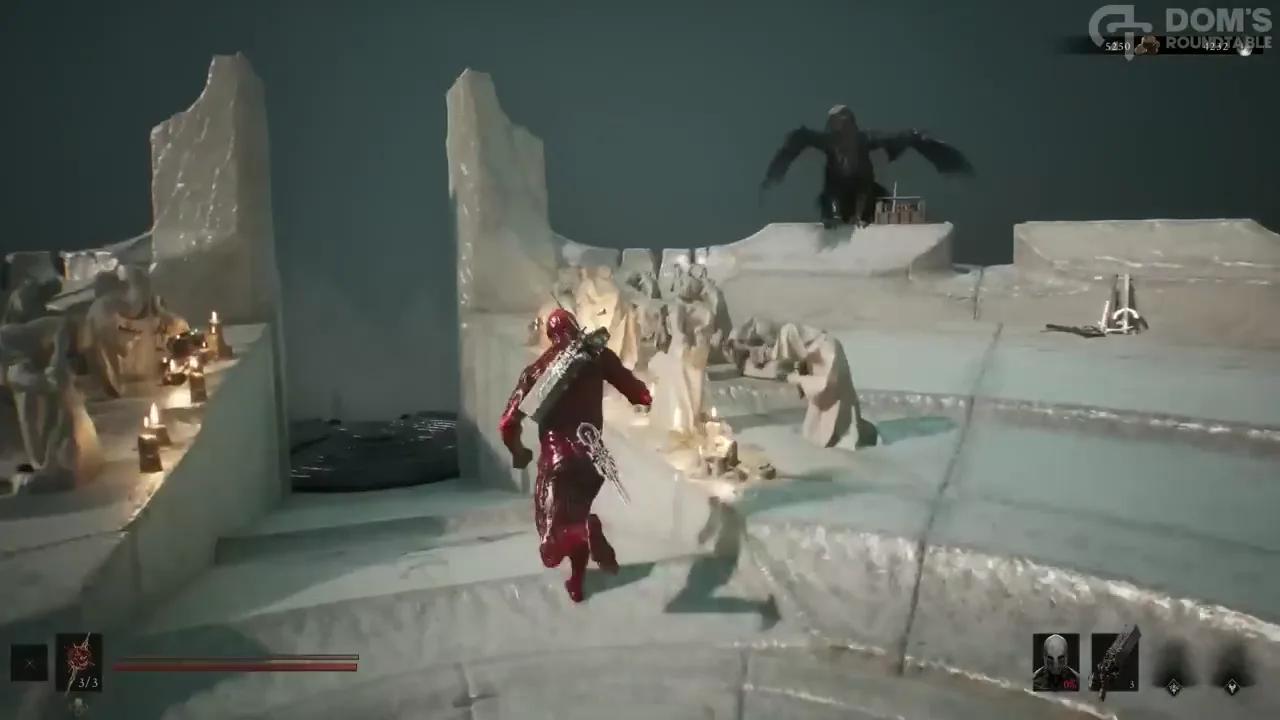
3. Clear the reaper trial for the Retribution Stone. Just past the beacon, the trial enemies are insta-staggered by everything. The reward is a Tarstone that boosts riposte damage and needs 10,000 XP — equip it immediately so it starts earning. Trial and reward.
4. Claim your first Shell — two options, both a sprint away. This is the one genuine fork among the videos, and both choices are correct:
- Tiel (southeast, at the grave site by the bone arch): the simplest unlock and a finesse Shell built on shadow strikes and backstab bursts. Route — full details in the all-shell-locations guide.
- Proxima (north, the white beacon in the shallow water): tankier, with a hook that drags weak enemies to you — and per the route video, the strongest long-term pick because her talents generate extra gold and Stasis lock-down. Pickup moment.
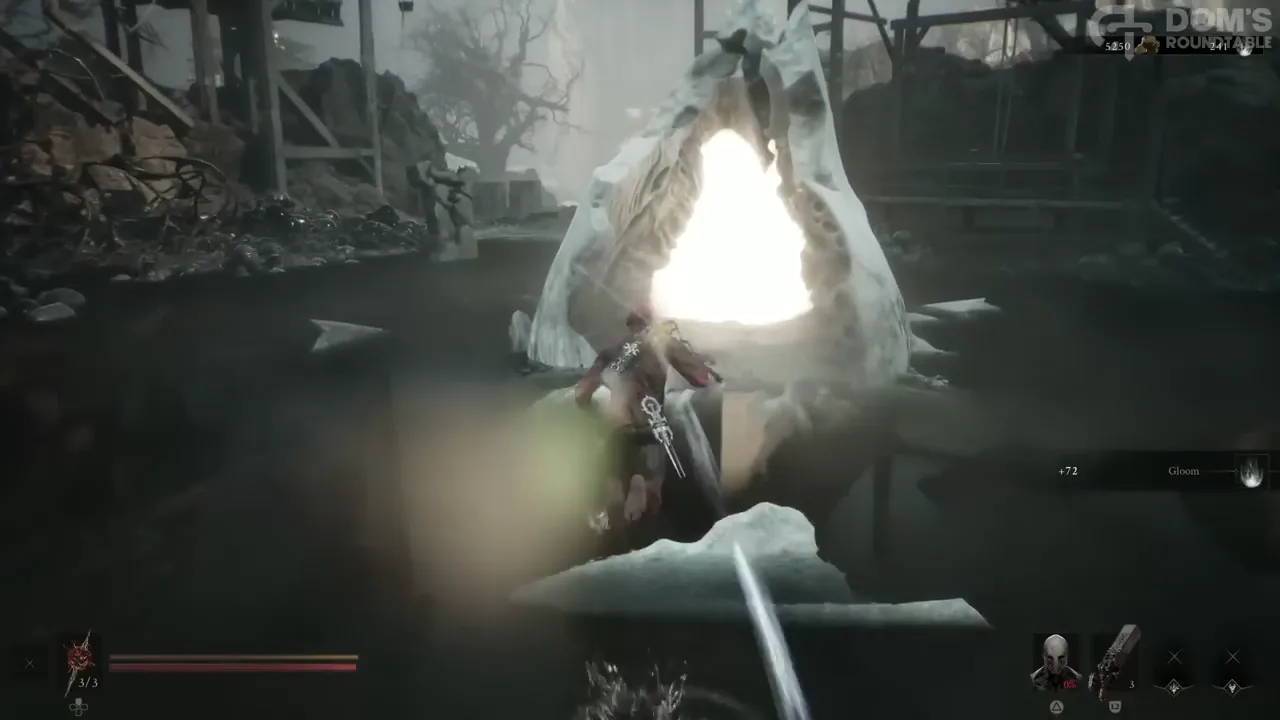
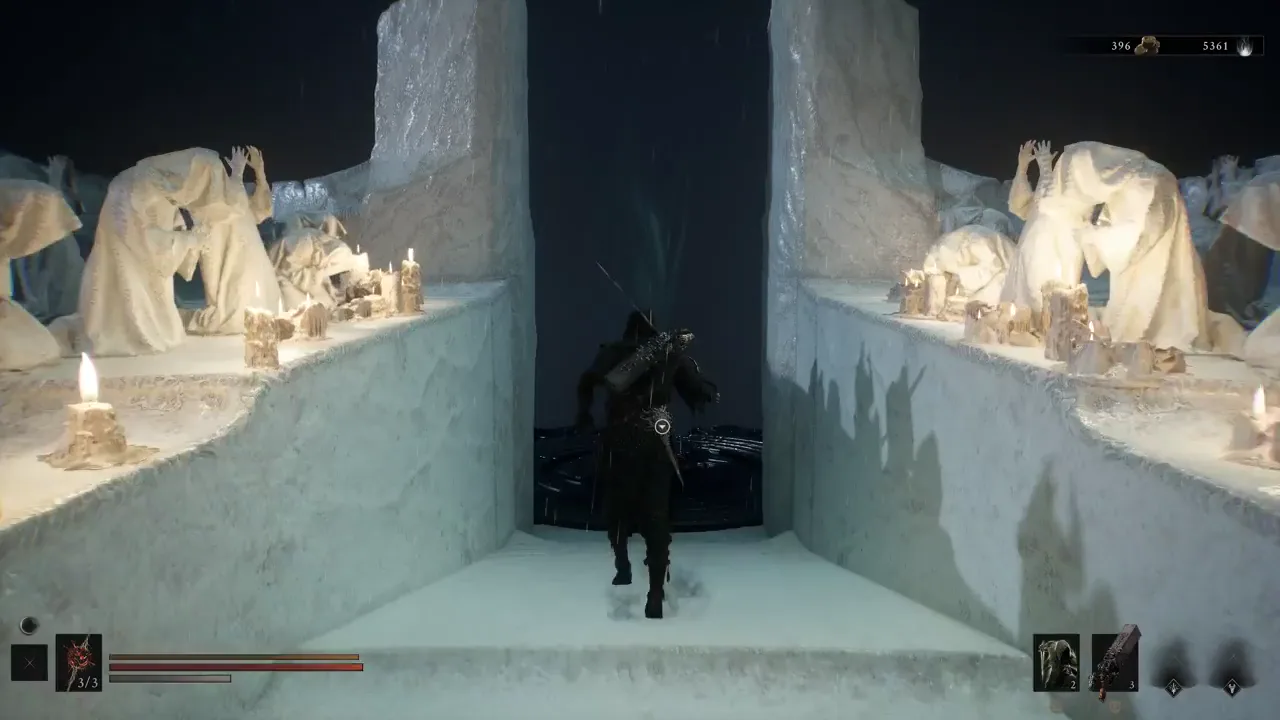
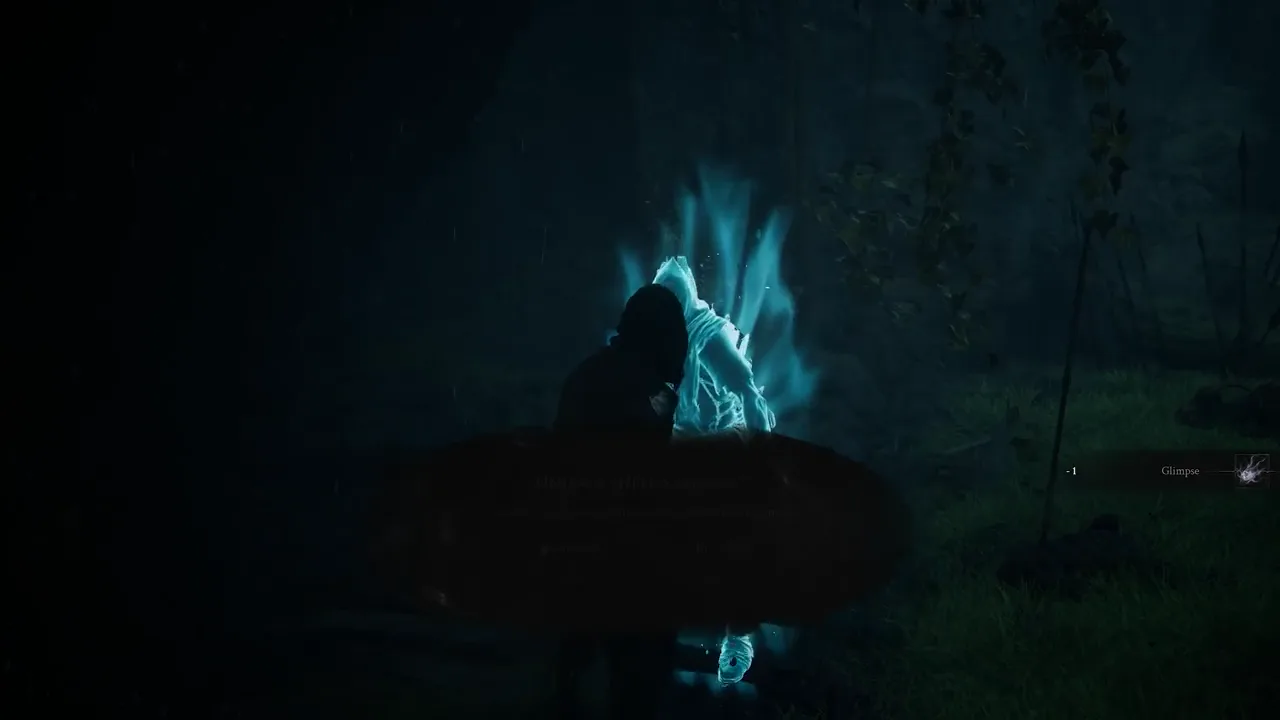
5. Cleanse the Widow's Overlook beacon (careful — exploding barrels one-shot early Shells). Cleansing pays out a Glimpse and clears the corruption behind it, which hides a second one. While you are here: mark any dungeon you enter as complete on the map so you remember what is done. Beacon and corruption.
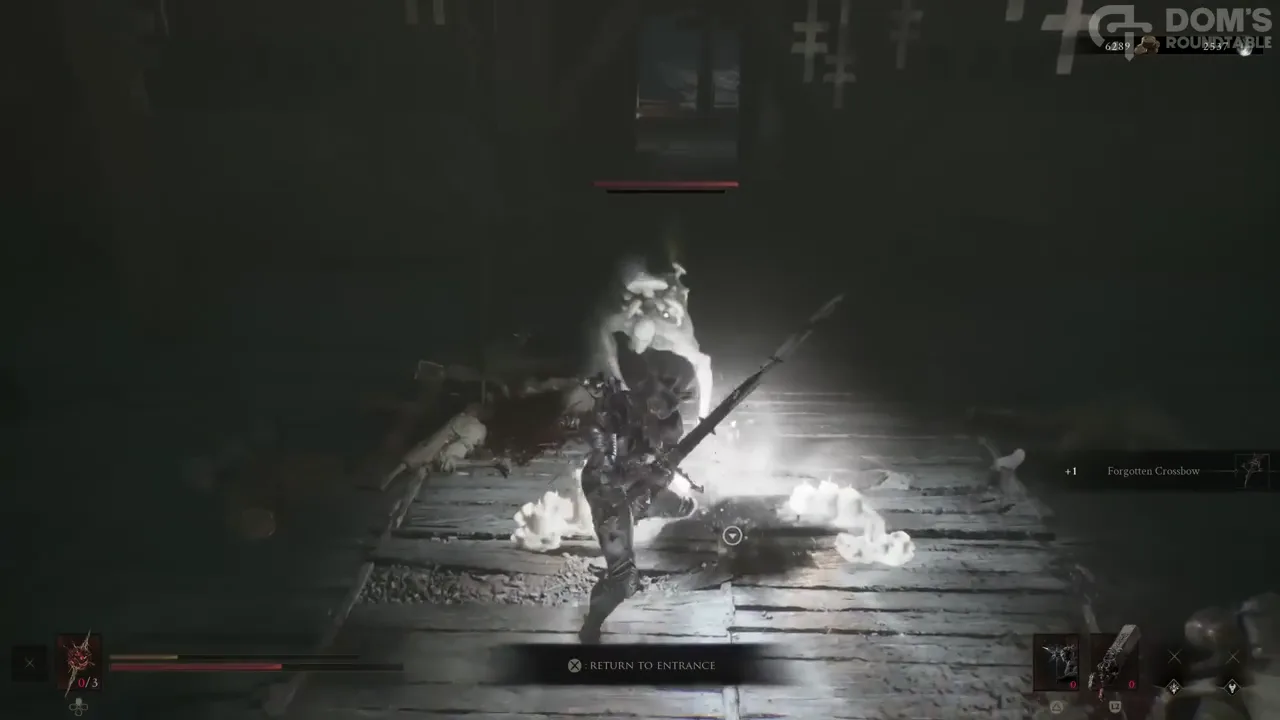
6. Loot the Forgotten Crossbow. In the tomb off this area, press the button on the left to raise the gate, run the flooded village rooftops to the damp key, and claim the crossbow. It looks weaker than the starting shotgun at first, but with Tarstone support it becomes a fast, all-range powerhouse. Door and key route.
7. Visit the Great Arbiter of Flesh (optional but worth it). South of the beacon, this optional early boss drops the Arbiter's Prize — a Tarstone that gives a permanent blood-curse infusion at max rank. Even skipping the fight, the area holds the Gloombound Flame (unlocks night mode — see mistakes below) and a Revered Gland, which upgrades your healing charges. Arbiter, flame, and gland.
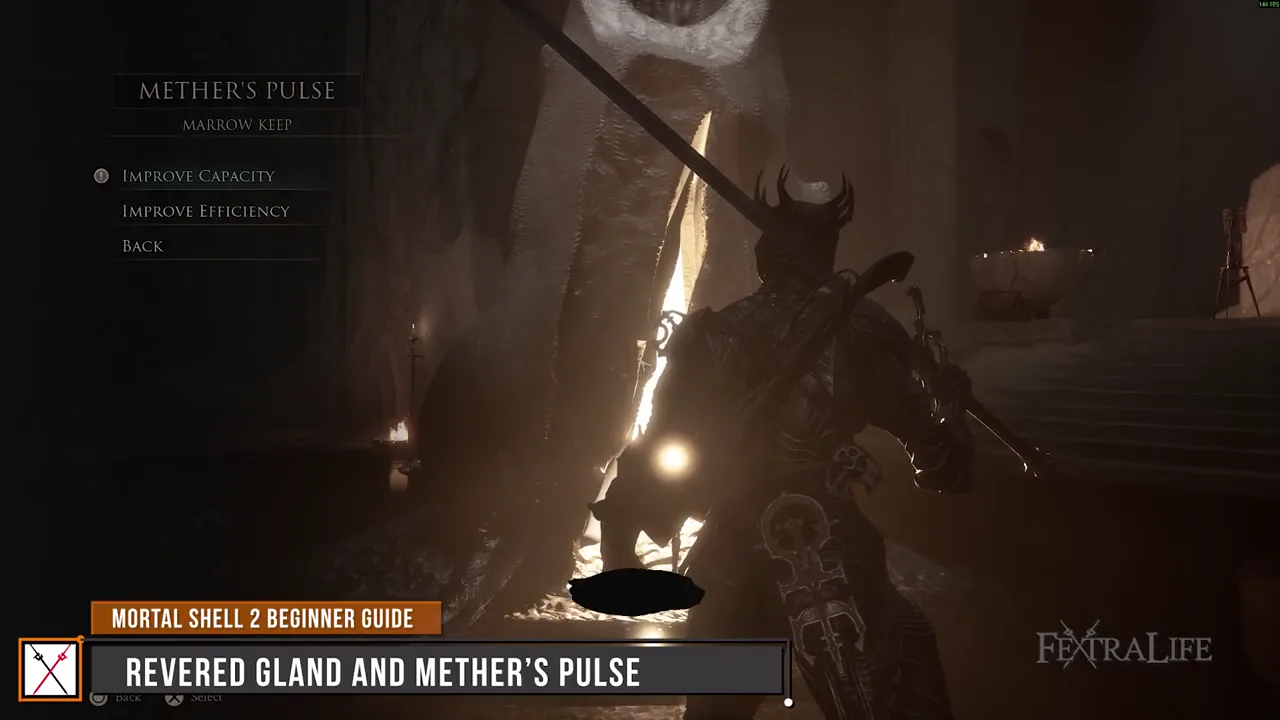
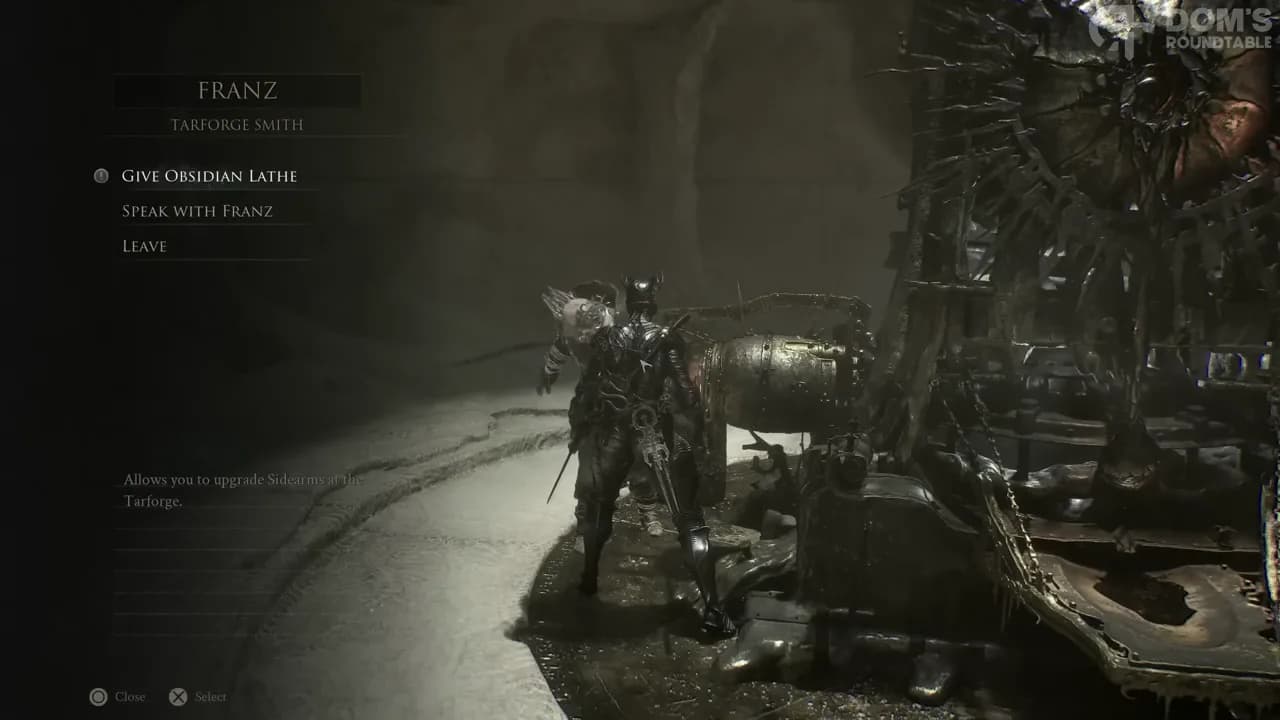
8. Two more quick pickups: the crypt nearby holds the Obsidian Lathe (unlocks ranged-weapon upgrades) plus the Parasitic Stone, and Tiel's grave camp holds the Wounding Stone (melee hits empower your next sidearm shot). Crypt loot.
9. Clear the Mushroom Village gate for the Etching Needle. This is the critical one: the gate dungeon's mini-boss (the Wandering Shepherd) guards the Etching Needle, and handing it in at Marrow Keep's forge is what unlocks Tarstone leveling. Without it, every Tarstone is capped at rank 2 and all XP beyond that is wasted. Take it slow and lean on the crossbow. The gate dungeon · why the needle matters.
10. Grab the Chapel Key, then the Axe and Dagger. Past the Babka bonfire, an archway reveals the chapel key on a giant statue. The chapel leads into the Shrine of Trials: face the king statue and walk backwards through the wall, solve the stone-pillar pushing puzzle (pushing pillars into enemies damages them — hard), and beat the knight. The Axe and Dagger waits at the end, pre-upgraded to +3 — the same weapon our Axe and Dagger guide covers in depth. The shrine puzzle · the weapon.
11. Do the Grisha camp favor. Buy everything from the friendly hunter, free the caged pup, and socket the Grisha Remnant — its spectral-pup attack knocks down almost anything, bosses included. Rescuing the pup also pays a Glimpse later. The camp.
12. Return to Marrow Keep and assemble everything. Spend Glimpse on your Shell's second tier (on Proxima this unlocks Biohazard — her hook starts applying lightning), sell your specimens to Merrick, hand both forge items to Franz the blacksmith, and upgrade your melee weapon, the crossbow, and your healing capacity. Following the video's route you will be roughly +3/+4 on both weapons with six Tarstones equipped inside the hour. Forge upgrades.
Habits that pay for the whole run
- Gold is the real bottleneck. Upgrade materials are plentiful; the coin cost is what stops you (one late upgrade alone costs five figures of gold). Sell duplicate items to Merrick, skip the maps, and don't buy what you won't use. Why gold matters.
- Rotate your Tarstones. XP only flows to equipped stones, and ranking any stone from 1 to 2 pays out a tar core — the material that rank 3 requires (six of them). So keep a rotation of unloved stones equipped while exploring, bank their levels, and spend the cores on the few stones you actually use. Weapon-coding stones are the priority: at rank 3 their elemental infusion becomes permanent. Tar core strategy · permanent infusions.
- Pick up every repeatable item — Moonshine above all. Items level up through a familiarity system based on how many copies you have found. Moonshine in your passive slot converts collection count into flat damage reduction; buy it whenever a vendor stocks it. Familiarity explained.
- Use the bird icons. The bird markers on the map are where maps are found — hitting them early makes every route in this guide easier to follow. Map crows.
- Melee feeds your abilities. Melee attacks generate Resolve; ranged attacks and ripostes do not. If you are starved for ability casts, land normal hits first. Resolve rules.
- Turn night on when you are comfortable. The Gloombound Flame near the first beacon unlocks night mode at the top of Marrow Keep's tower: enemies hit much harder but Gloom earnings rise (roughly 20% net by one creator's testing), night-only locations open (including a merchant who sells unique Tarstones and a Black Marrow Key), and some quest steps only advance at night. Fair warning: one night event near the Mushroom Village ends in a severe jump scare. Night mode setup · what it unlocks.
Common mistakes — and how to recover
Spending Glimpse at the hint coffins. The coffins in Marrow Keep will sell you Shell location hints for Glimpse. Don't — Glimpse is the scarce currency for bonding and unlocking Shell tiers, and the shell locations guide covers every route for free. The one Glimpse worth spending is a boss summon: it costs a single Glimpse and the helper returns for every retry of that boss. What not to do.
Grinding XP into capped Tarstones. If a stone's icon flashes, it has hit its rank cap and is banking nothing. Fix the cap (etching needle → forge), and rotate stones as above. The flashing-icon mistake.
Hoarding upgrade materials on the wrong weapon. Over-investing in a weapon you will abandon feels bad — but the Foundry Stone (near the first Mammon beacon, a dangerous early detour) lets you smelt weapons down and refund the materials, so early investment is never truly lost. The videos recommend grabbing it sooner rather than later if you like to tinker. Smelting and the Foundry Stone.
Losing Gloom to a cliff. Dropped Gloom does not have to be reached on foot — shoot it with a ranged weapon and it returns to you. The trick. When you are still short of a level, two repeatable top-ups exist: the mantis-type enemy at the Mushroom Village gate respawns for about 2,000 Gloom (shown here), and the hidden fish southwest of the starting region trades coins for Gloom at roughly 100 coins to 200 (the fish).
Skipping the mobs that fight each other. Many areas spawn enemy groups that hate each other — aggro both and let them thin the pack while you pick off survivors. One of the cheapest difficulty reducers in the game. Example.
Forgetting fall damage has an off switch. A ground slam (light attack while falling) cancels fall damage from any height — including the drops around beacons that look lethal. Demonstration.
Where to go next
With the route above done, you have a Shell, two upgraded weapons, and a working Tarstone loop. From here: the all-shell-locations guide for the remaining six Shells, the weapons hub for every melee weapon's moveset and unlock route, and the Tarstone collection checklist when you start chasing full completion.