Mortal Shell II has eight Shells, and this guide covers where every one of them is found, what it takes to unlock each, and what each Shell does. Five Shells are reachable in the opening regions — four of them without any boss fight — while the last three (Genessa, Lazlo, Sariel) sit behind mandatory boss encounters in late-game areas. The first memory of every Shell costs one Glimpse to unlock before you can spend points in its tree.
Version note: this walkthrough follows a video guide whose author states he recorded on an earlier test build. Shell locations are fixed world features and are safe to follow; individual talent numbers may have been retuned since recording.
Shell quick reference
| Shell | Playstyle | Found at | Gate |
|---|---|---|---|
| Tiel the Acolyte | Stealth bursts | Southeast of Widow's Overlook | None |
| Proxima the Brood Seeker | Hook + stacking defense | Cavern north of Widow's Overlook | None |
| Eredrim the Venerable | Shoulder-bash stagger | The citadel, past Gloomshade Grove | 2 bosses + lever |
| Gragu the Insatiable | Heart-based sustain | Tavern near the one-legged wolf | Vatra's Heart fetch |
| Smert the Apostate | Time-stop executioner | Blood pools near Nokstella | Fill 3 blood pools |
| Genessa the Wayward | Clone army | Marrow Keep (sensor quest) | 1 boss + fetch |
| Lazlo the Justicar | Overheat shockwaves | Royal Crypt, behind a mammoth | 1 boss |
| Sariel the Endless | Thorn-curse mitigation | Dungeon past Silent Steps Beacon | 2 bosses |
Tiel the Acolyte
Tiel is the earliest Shell you can reach and an excellent all-rounder. His active, Lingering Shadow, drops him into a shadow state that sets up a dagger shadow strike, and his passive, Shadow Dash, grants shadow after any perfect dash plus a follow-up hit that deals heavy stagger damage. The talent tree pushes three directions: poison (poison stacks on shadow strike, a detonate-poison talent), mobility and burst (chaining shadow strikes between enemies on kills, more damage the longer you stay in stealth, backstab bonuses), and criticals (after a shadow strike, melee and ranged attacks are guaranteed to crit).
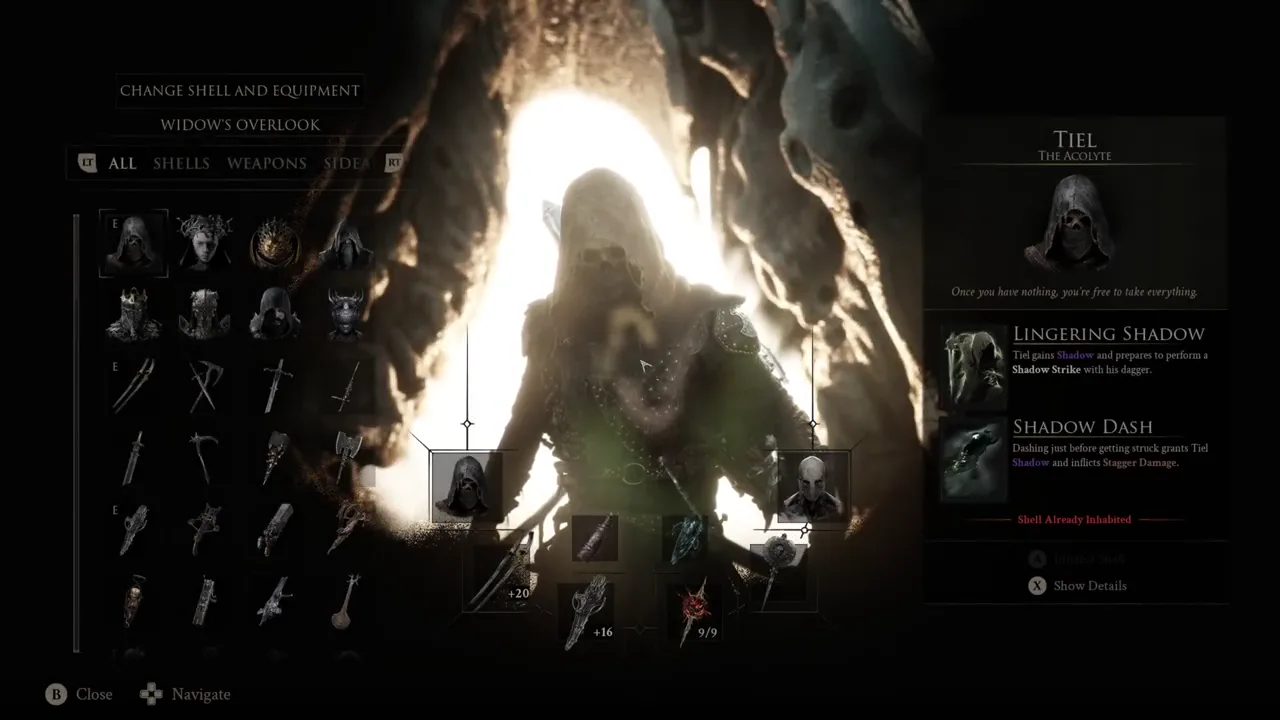
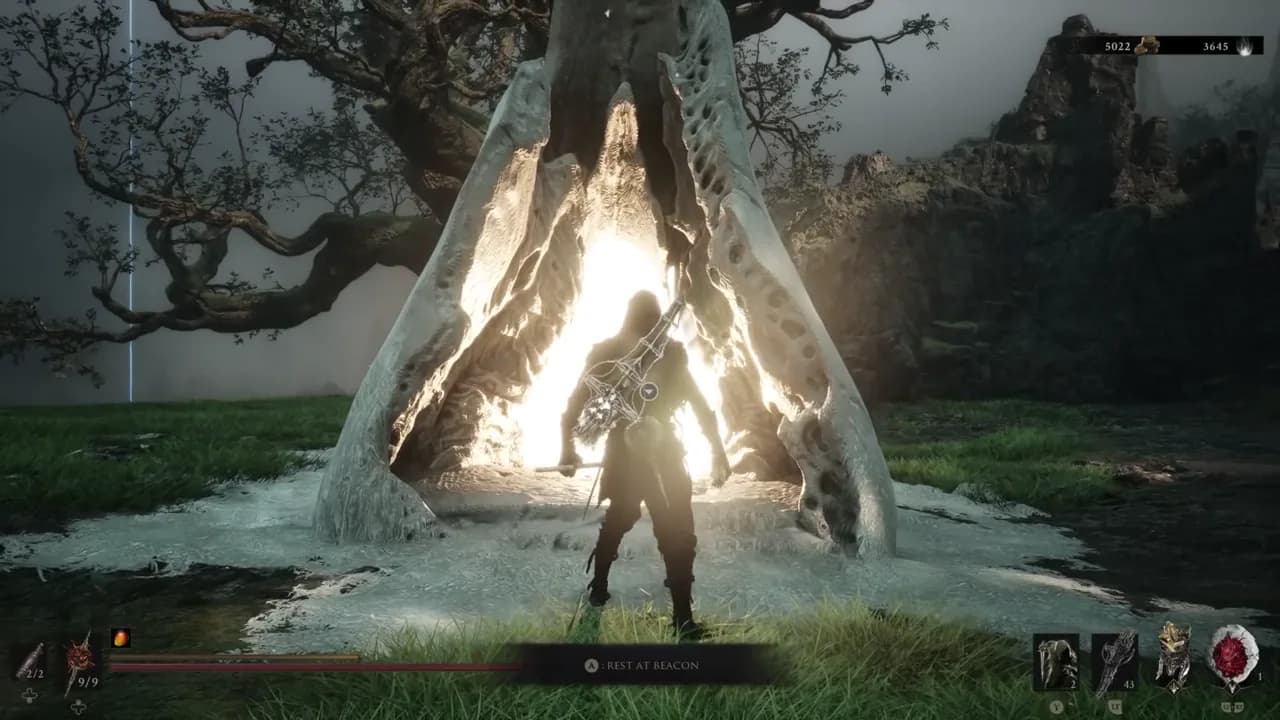
How to unlock: start from Widow's Overlook — the very first Beacon you find — and run straight southeast. The whole route is a flat sprint: you can slip past the enemies along the path (watch out for the open pit), and there is a dungeon along the way you can simply skip for now. Interact with the coffin at the landmark to claim Tiel, then spend one Glimpse on his first memory. Watch this segment.
Proxima the Brood Seeker
Proxima is an aggressive Shell whose active, Bio Sampler, fires a hook like a scorpion — weak enemies get yanked to you, strong ones pull you to them. Her passive, Grafted Armor, gives a base 15% chance to mitigate any incoming hit, cutting that damage by half and preventing the stagger. Her talent tree is where she gets scary: Seizure adds Stasis (one of the strongest effects in the game), and combined with a Stasis-infusing weapon — the Obsidian Hammer or Axatana — she can lock bosses in place almost permanently. Other notables: Bio Hunter (a permanent stacking damage bonus per enemy killed) and Collector (specimens you can sell for gold).
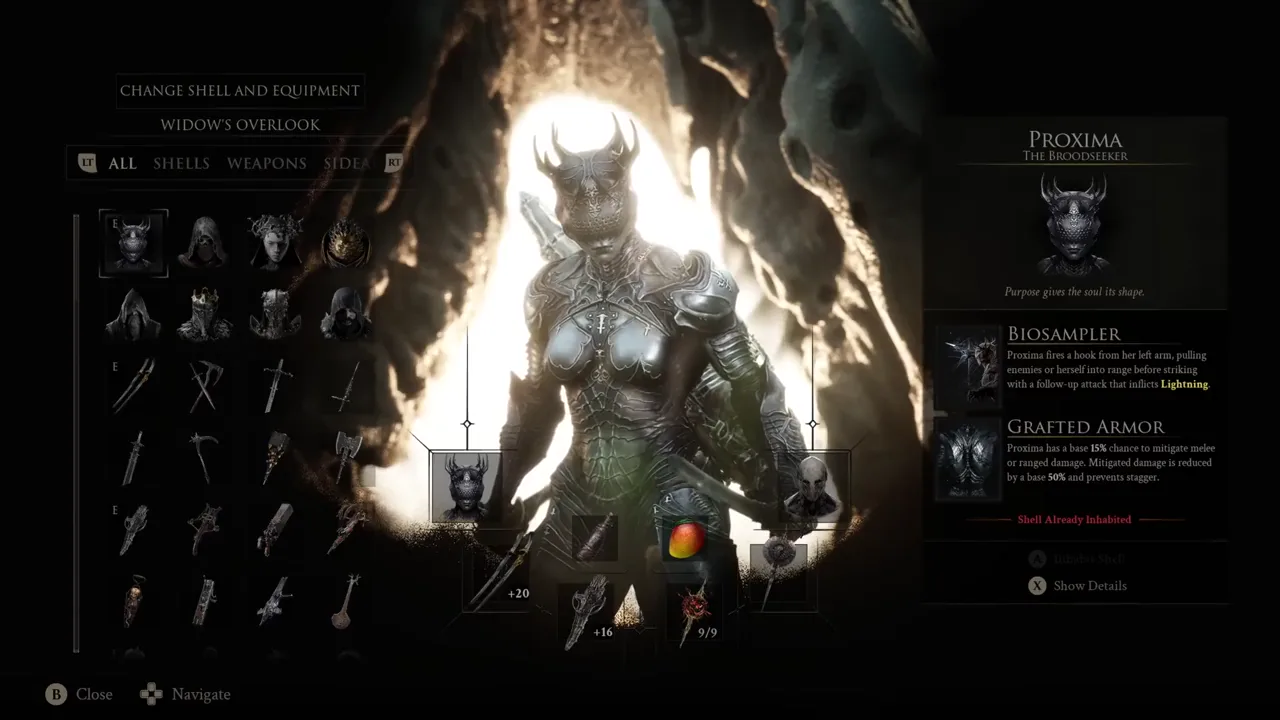
How to unlock: also start from Widow's Overlook, but go north and circle around the ridge. At Blackridge Cliffs you'll see enemies fighting each other — run past them straight up the hill and step into the small cavern at the top. She unlocks on the spot with no fight required. Watch this segment.
Eredrim the Venerable
Eredrim is the stagger specialist. He has two actives — Shoulder Bash, a lunging slam with heavy break damage, and Ethereal Diapason, an AoE that blinds and breaks — plus the Executioner passive, which stacks buffs whenever you kill with a riposte. The tree supports a shoulder-bash rush (extra bash damage and power), executioner builds, and utility like Resonance, which inflicts Stasis on any enemy broken by the ethereal. A practical note from the video: Shell points can be freely respecced between unlocked Shells, so experimenting costs nothing but Glimpse is limited.
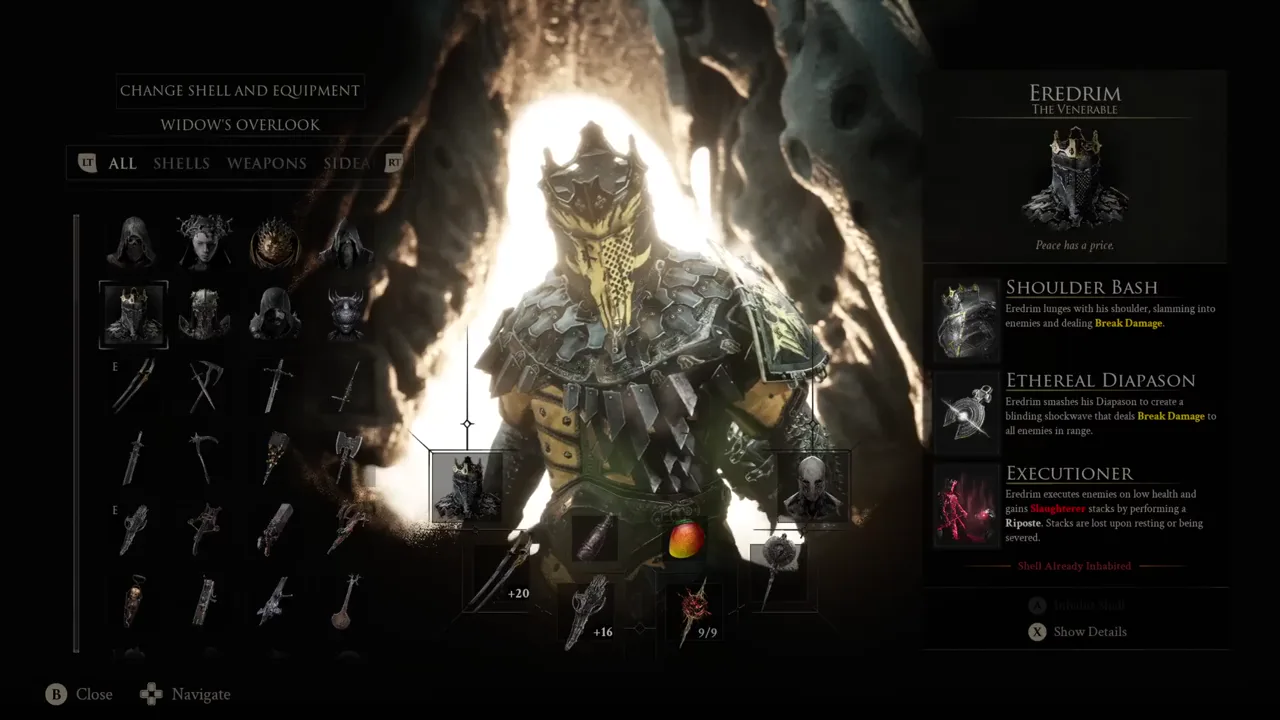
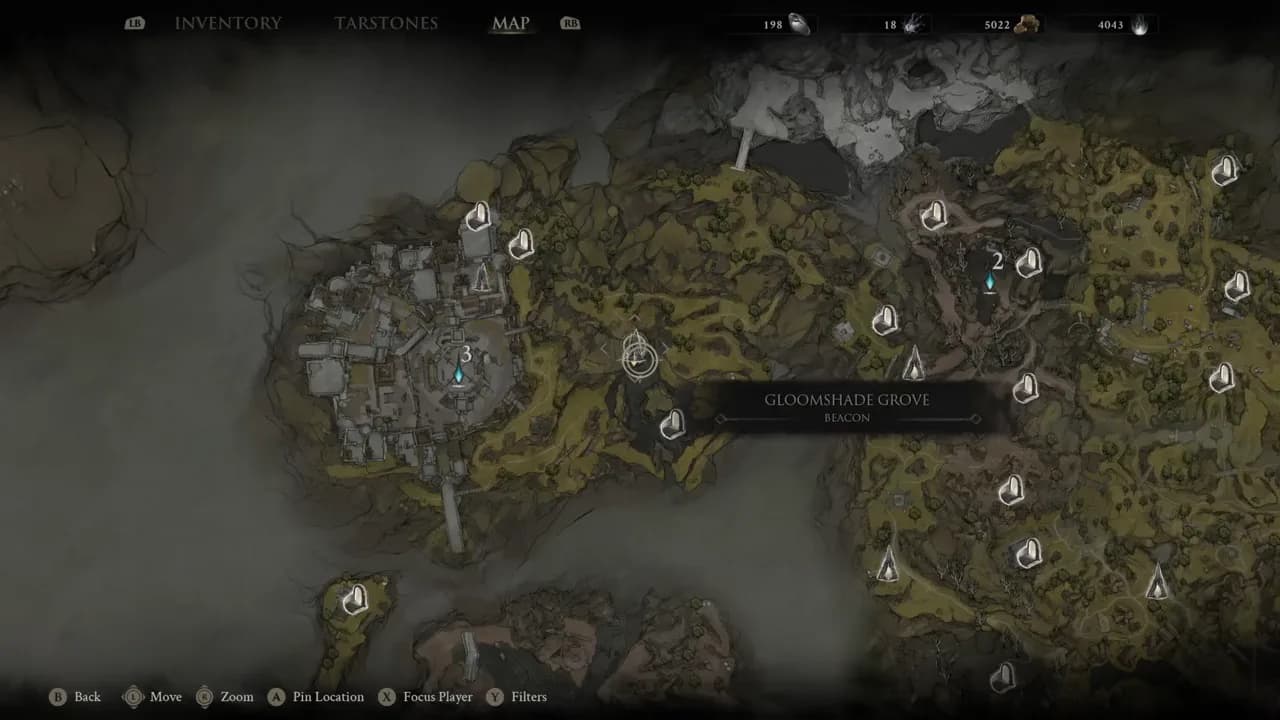
How to unlock: this one takes real work. From Gloomshade Grove (cleanse enough of it to unlock corruption removal), drop off the beacon — light-attacking mid-fall slams you down safely and cancels fall damage — and run to the first boss on the flat below. It drops the citadel lever. Follow the route up past the fighting enemies, swing left, then right, where an enemy guards a gate; use the lever once he's down. Drop into the structure and look for one of the back entrances (there is one front and one rear). Moving into the middle triggers a second boss — beat it and Eredrim is yours. Watch the route and the citadel boss.
Gragu the Insatiable
Gragu replaces normal healing with Revered Heart: killing enemies refills hearts, and hearts are your healing. That makes him a superb exploration Shell and a frustrating boss Shell — after a wipe you must farm hearts back before re-attempting. His active, Staggering Blow, is a chargeable punch with solid stagger; the talent Harvest (up to eight stored hearts) is effectively mandatory, and Maniac (bonus damage against enemies you've never killed) rewards fresh boss attempts. The video's verdict puts him at the bottom of the ranking purely because of the pre-boss farming loop.
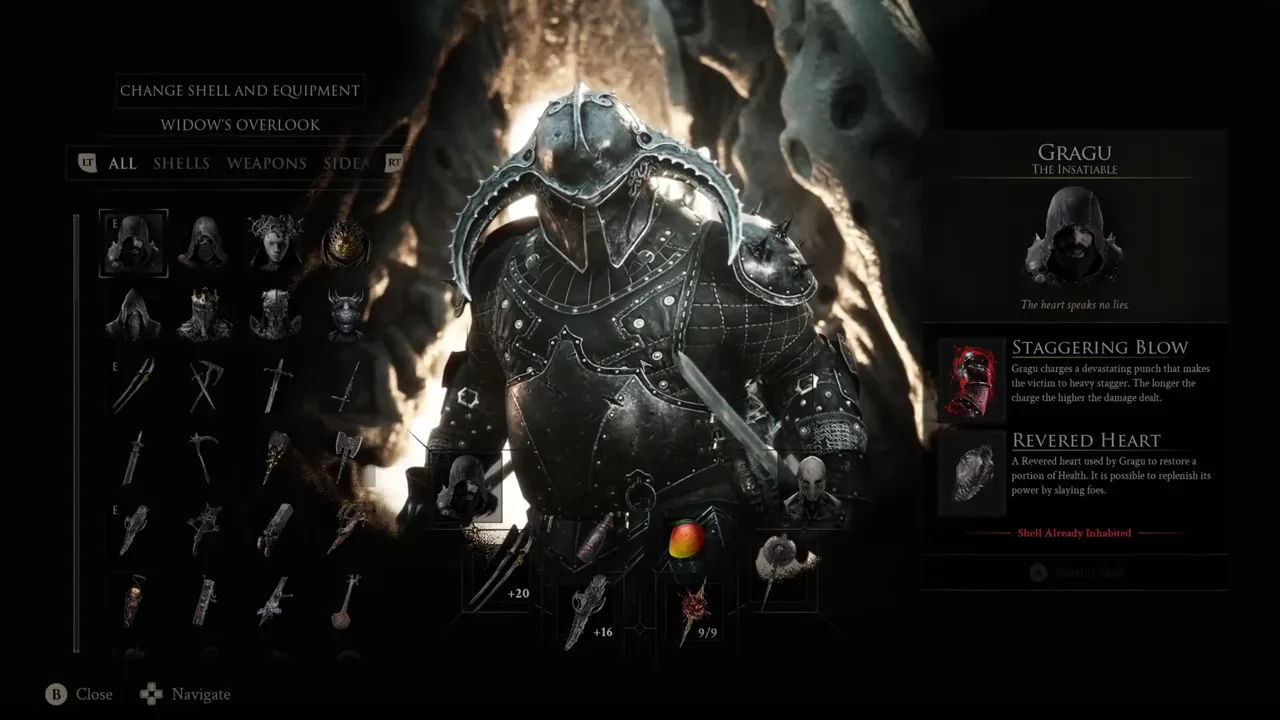
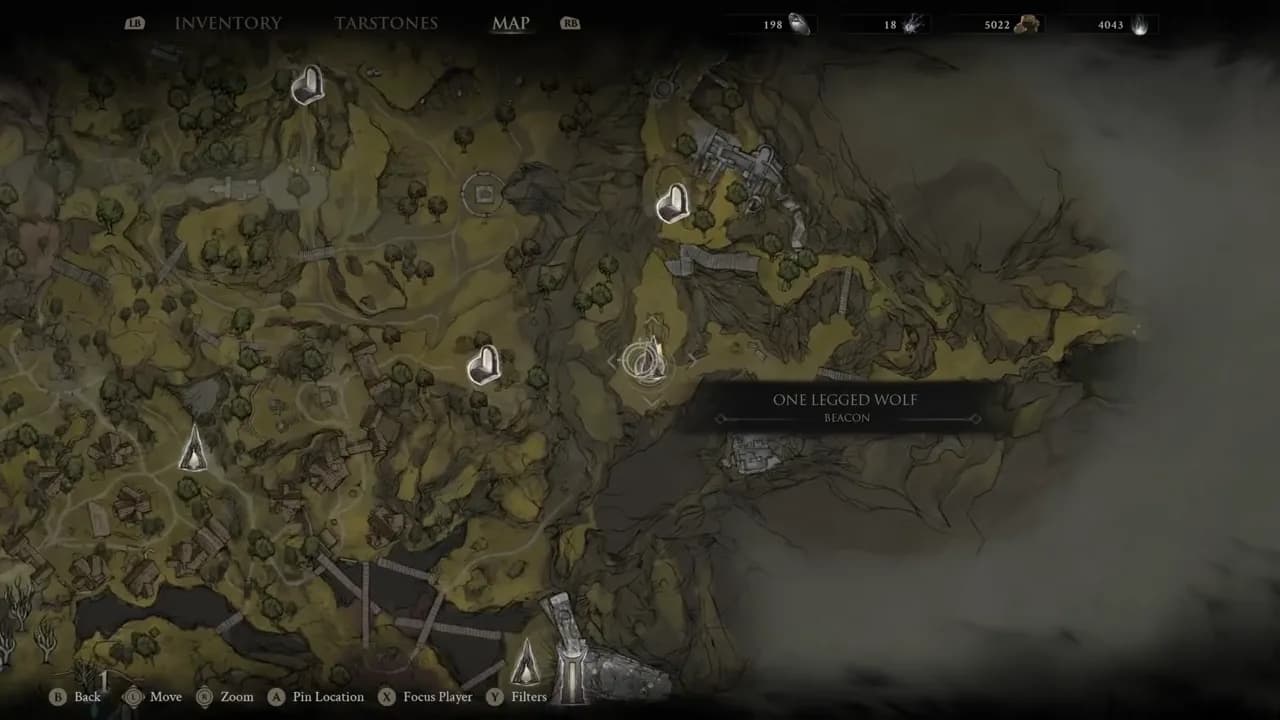
How to unlock: from Widow's Overlook, travel to the Mushroom Village and onward to the landmark known as the one-legged wolf. Next to it is a tavern, and Gragu sits inside — but he won't respond until you bring him Vatra's Heart. The heart is inside the Temple of Vatra out in the forest: fight through basic enemies on the way, light the candle puzzles inside for bonus loot if you like, and take the heart from the altar at the end of the path. Watch the tavern route and the Temple of Vatra.
Smert the Apostate
Smert is one of the strongest Shells in the game. His active, Miracle, sacrifices half your health to halt time and enter a fight stance where unarmed hits apply Chaos — a random element (poison, lightning, burn, or freeze) that detonates when time resumes. Spending extra health extends the freeze. His passive, Deadly Revelation, grants a faith state below 10% health (the video notes faith is due for a rework). Key talents: Last Vow (ditches your weapon for a punch/kick stance with healing crits and big stagger), Kicker (detonates Chaos stacks), and Beat Down (a ground pound that resumes time on your terms). In the video's own ranking he sits at the top tier — freezing time and deleting half a boss's health is exactly what it sounds like.
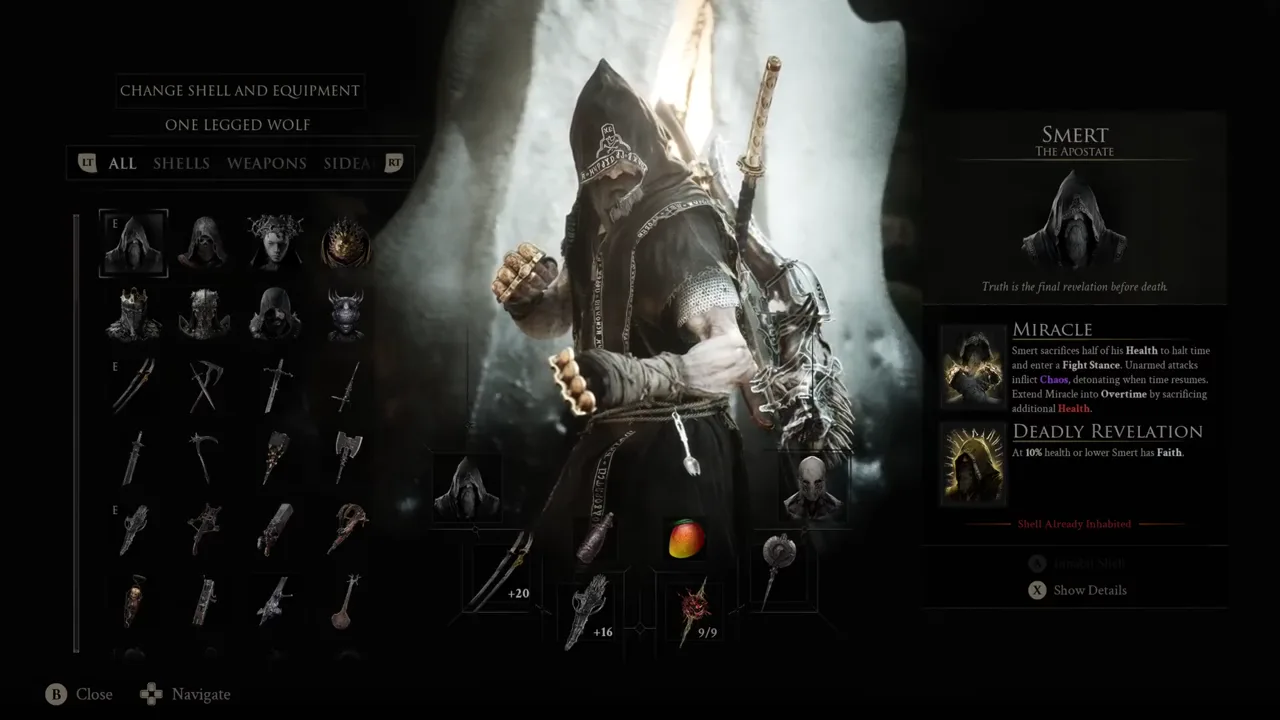
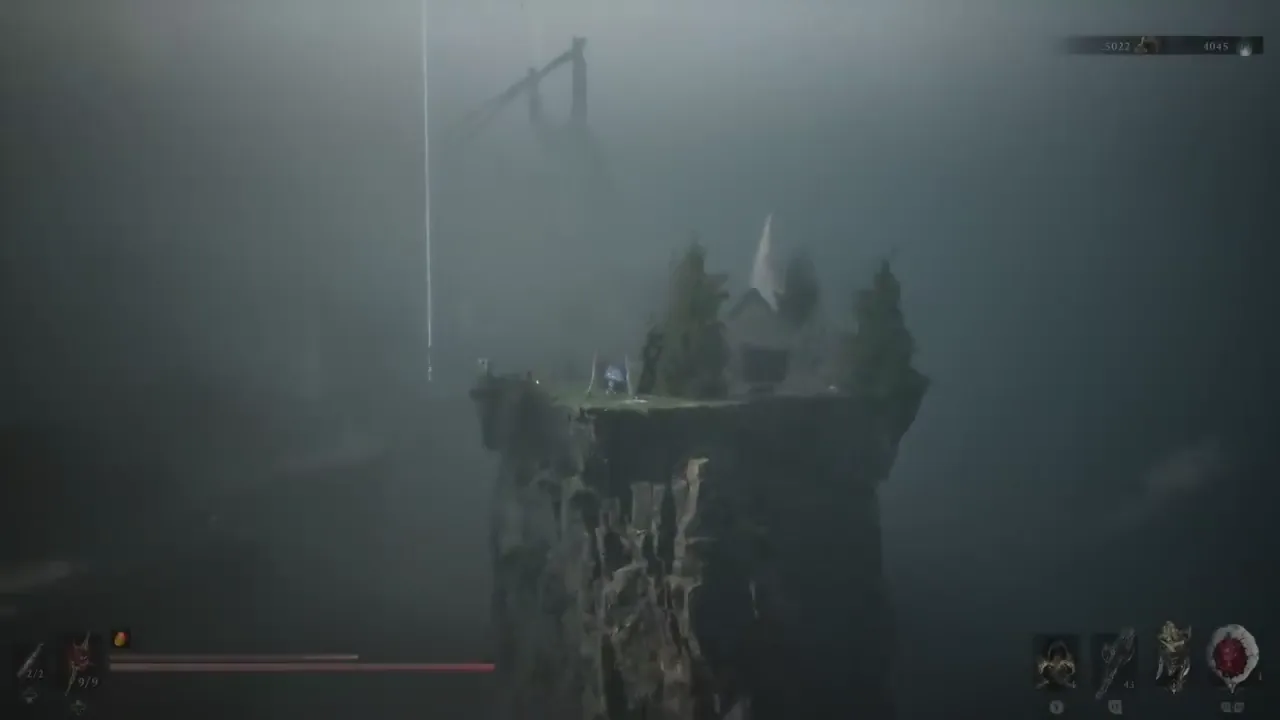
How to unlock: the easiest approach is from Gloomshade Grove, heading toward the outskirts of Nokstella. Cross the bridge to the warp gate (a side quest NPC called Baghead is nearby), and take the left exit of the gate — that drops you at the blood pool site. The unlock gimmick: there are three blood pools, and each one fills when you are knocked out of your Shell — meaning you die, beat enemies to recall your Shell, and repeat. Fill all three (the fills are permanent across deaths), and Smert is yours. Having the Outskirts of Nokstella beacon makes the walk back trivial. Watch the warp gate route and the blood pools.
Genessa the Wayward
Genessa is a late-game Shell with a unique unlock: she isn't found as a body to claim — you retrieve a Sester's Censer and bring it to her at Marrow Keep, which plays out as its own boss-gated quest. In combat she is a glass cannon ranked in the top tier: Faithful Doubles summons clones that fight for you (they even inherit your weapon arts and infusions), and her Duality mechanic can turn a lethal hit into a "stray" state with a clone that mirrors your damage. If that kit sounds good, the dedicated Genessa the Wayward unlock guide walks the full quest step by step.
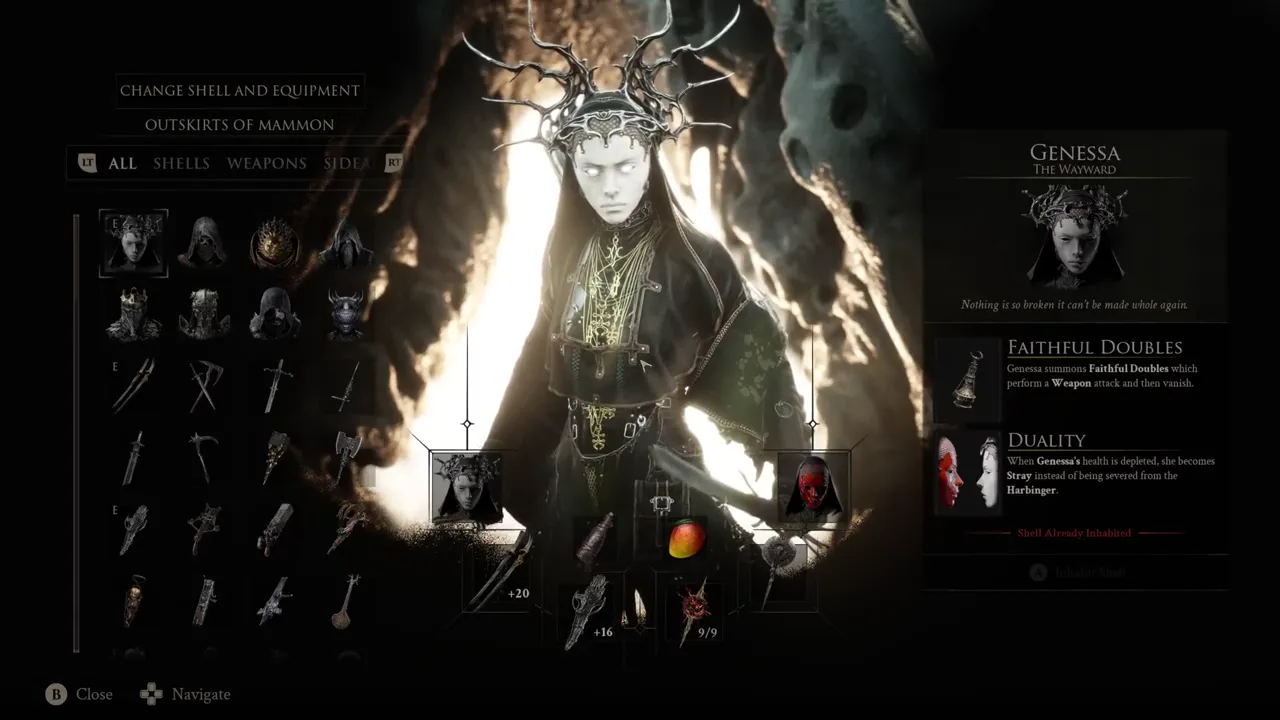
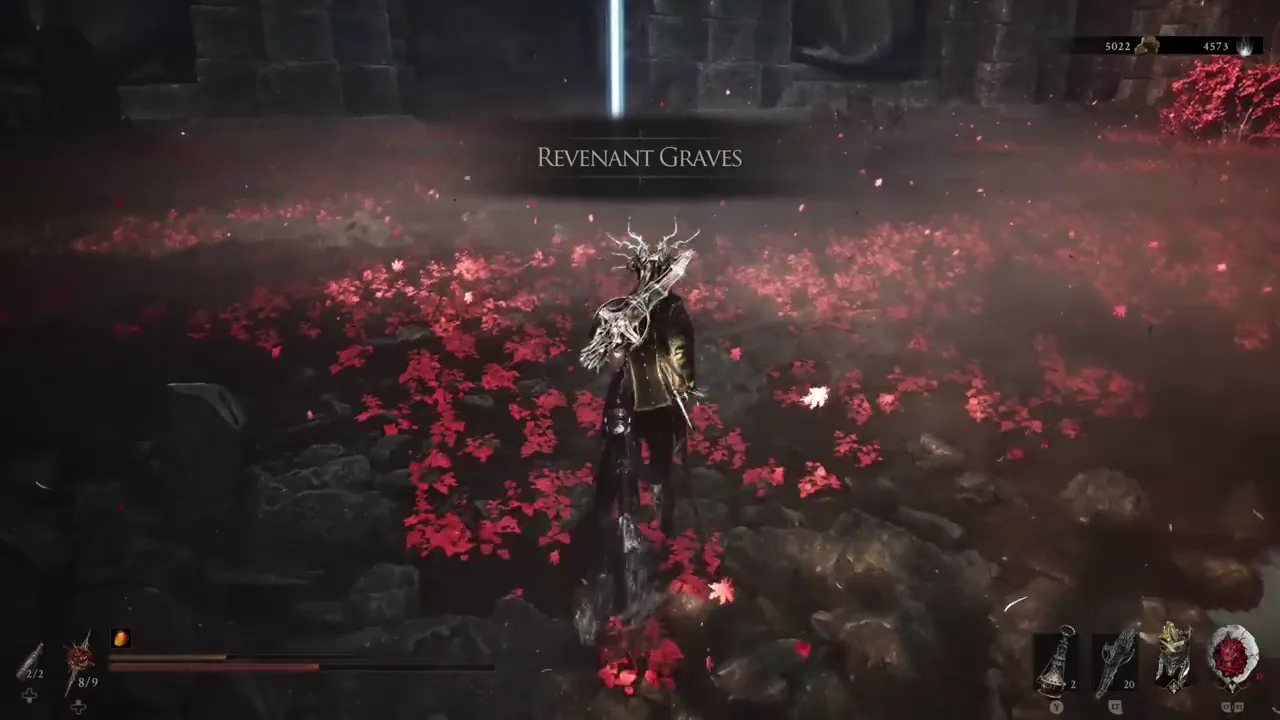
How to unlock (short version): from the outskirts of Mammon head south to Marrow Keep, take the gate teleporter across the gorge, run the straight path to the glowing pickup, and claim the censer — grabbing it triggers a boss fight. Win, return the censer to Genessa at Marrow Keep, and she joins your roster. One quirk: she levels up through the stray that replaces her inside the keep, not the normal Shell keeper. Watch the sensor pickup.
Lazlo the Justicar
Lazlo is the heavy armor Shell, built around a heat meter. His Retribution active fires fiery shockwaves that build heat — repeated uses trigger Overheat, a stronger shockwave that inflicts Burn — and his Fortified Plate passive grants a base 10% damage reduction while his armor is on. At full heat the talent tree stacks roughly 30% bonus damage, 35% bonus Resolve, and 10% damage reduction on top of burn immunity and a 50% chance to survive a fatal blow. Blowing his armor off is a big explosion with a short cooldown before it returns, and one talent instantly refills heat when it does. The video rates him a solid all-rounder rather than a spectacle — passive, sturdy, and straightforward.
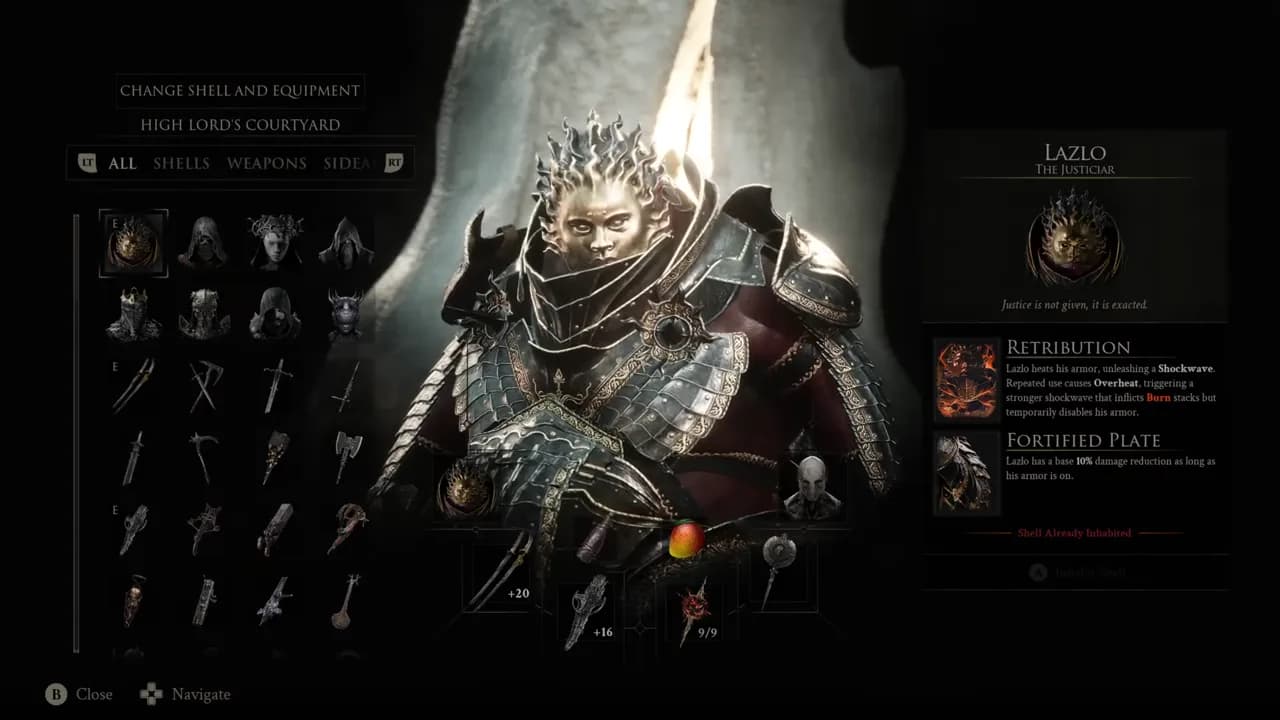
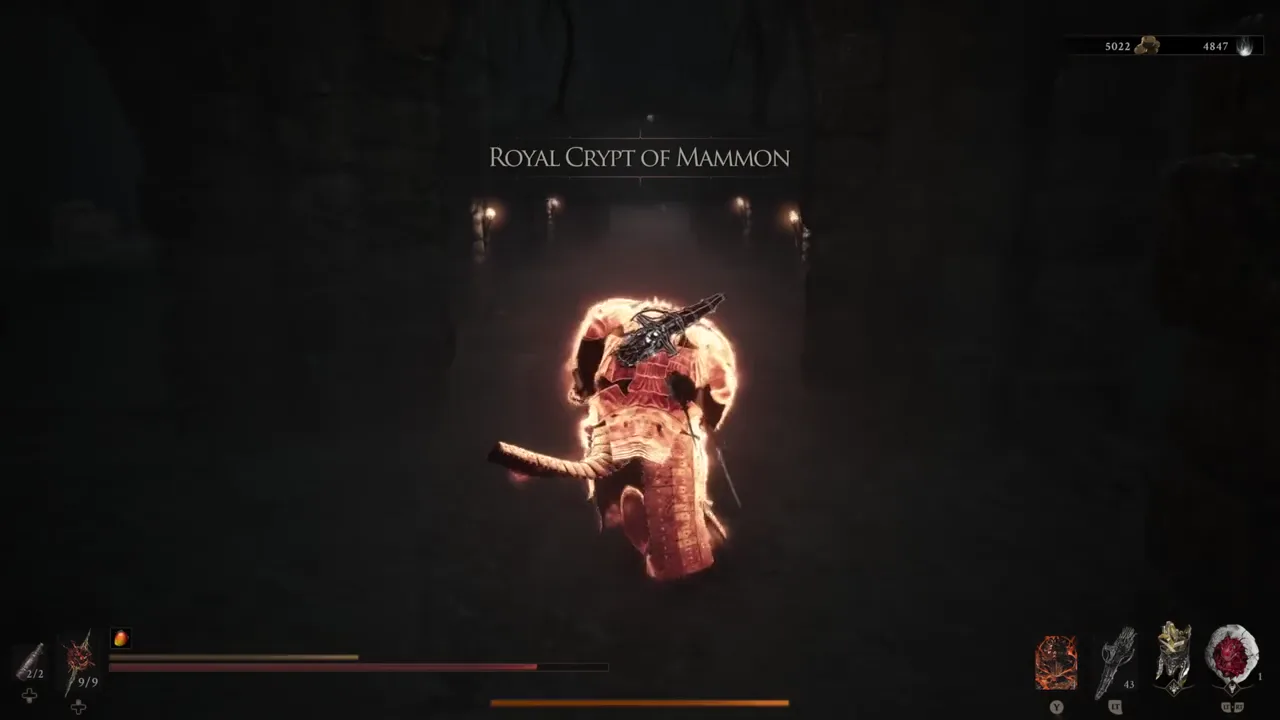
How to unlock: work your way to the High Lord's Courtyard (the video traces the route past the mines), then head to the back of the courtyard. Run up the slope, through the passage, and keep following the single path straight down — it leads to the Royal Crypt Mammoth, a mandatory fight. Lazlo stands directly behind the arena. Watch the courtyard route and the mammoth fight.
Sariel the Endless
Sariel is the trickiest unlock and one of the strongest kits. His Exodus of Thorns active expels parasitic thorns that hunt nearby enemies and stack Curse on them — a fully cursed enemy's next melee strike is nullified and damages it instead. His Purge passive ties into Pain: gray health that vanishes when you get hit but is restored by dealing melee damage, Bloodborne-style, with each thorn activation adding to it. At max pain his dodges become extremely fast, and the talent tree adds options like a 30-second curse duration, trauma shockwaves when curing pain, and Resolve gain at max pain. The video ranks him top tier and expects further balance changes.
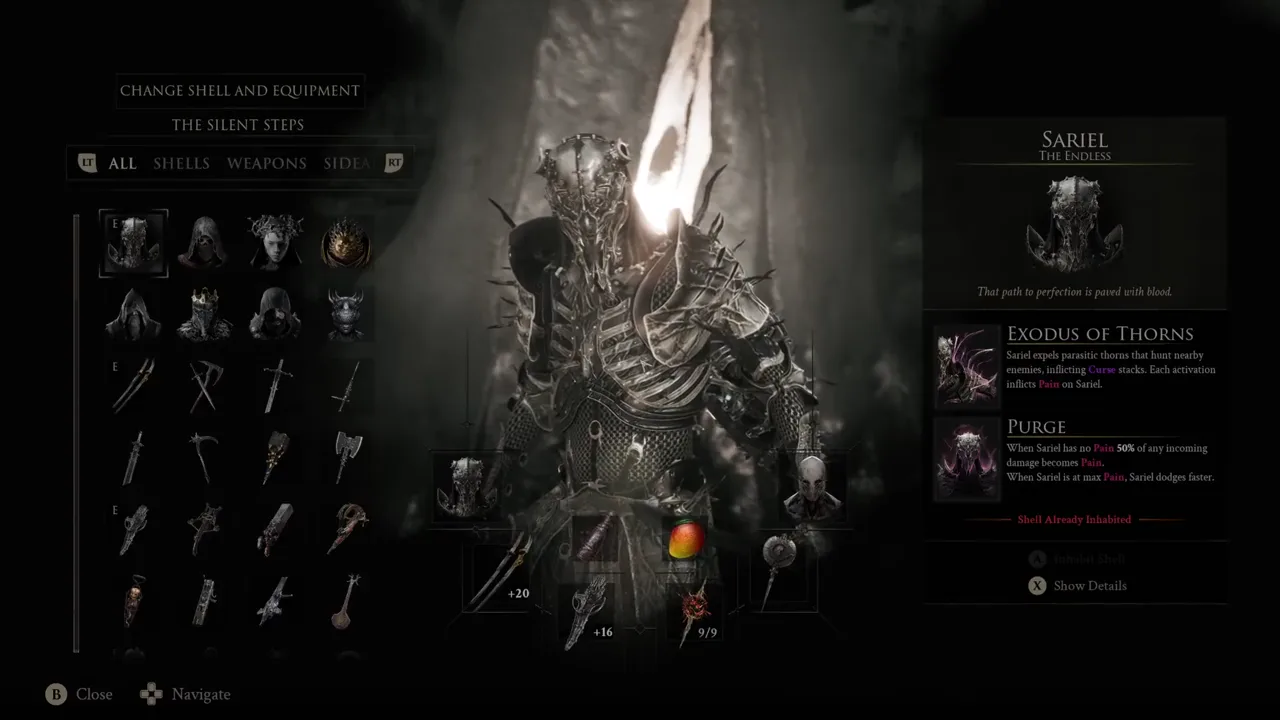
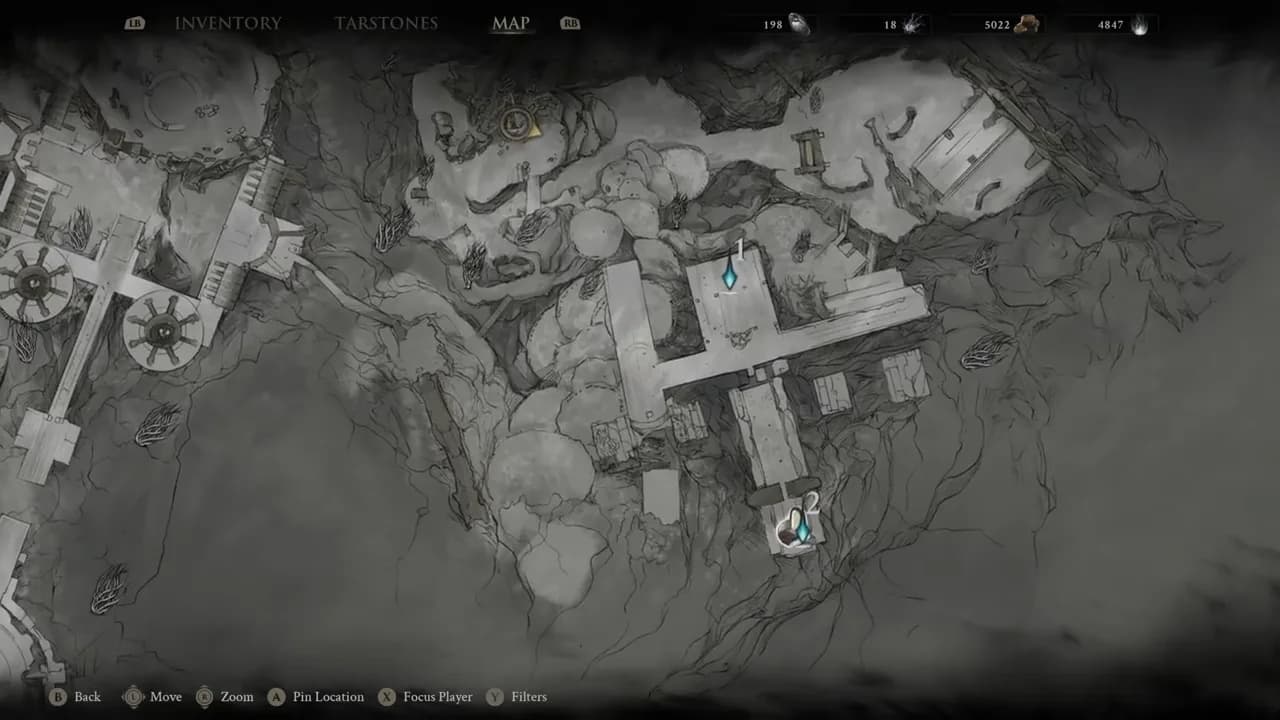
How to unlock: from the outskirts of Mammon, head down and take the teleporter across, push through a boss on the far side, and cross the bridges to the Silent Steps Beacon. From there you'll fight a version of Sariel in the open — and then face him again inside the dungeon, where a beacon-destruction gimmick gates the rematch (the "Endless" in his name). Win the dungeon fight and he's unlocked. The video notes it isn't confirmed whether the outdoor fight is a hard requirement; that's simply the order it played out in. Watch the Silent Steps route and the dungeon fight.
Which Shell should you pick?
The video's closing ranking, in the author's own assessment: top tier — Smert, Genessa, Sariel (each defined by one overwhelming mechanic); A rank — Eredrim and Tiel (excellent all-rounders); B rank — Proxima (with top-tier boss potential through Stasis) and Lazlo; C rank — Gragu, purely because of the heart-farming loop before boss retries. Because Glimpse is limited, the practical advice is to pick one or two Shells and take them all the way — weapon choice stays freely refundable, so your Shell is the real long-term commitment.